[UPDATE: Saturday, November 16th, 2019: I believe the Mylites bags do not protect your comic books from U.V. light. A year ago I did a test. I exposed 4 comic books to sunlite for a year. One of these books was in a mylite bag and another was in a generic cheap off the shelf comc book bag. After a year I found that all four books where horrably sun damaged. However, I saw to my amazement that the comic book in a generic, cheap, comic book bag was the least sun damaged of the four. As a result, I can no longer support the statment that Mylites’ bags have any U.V. protection.]
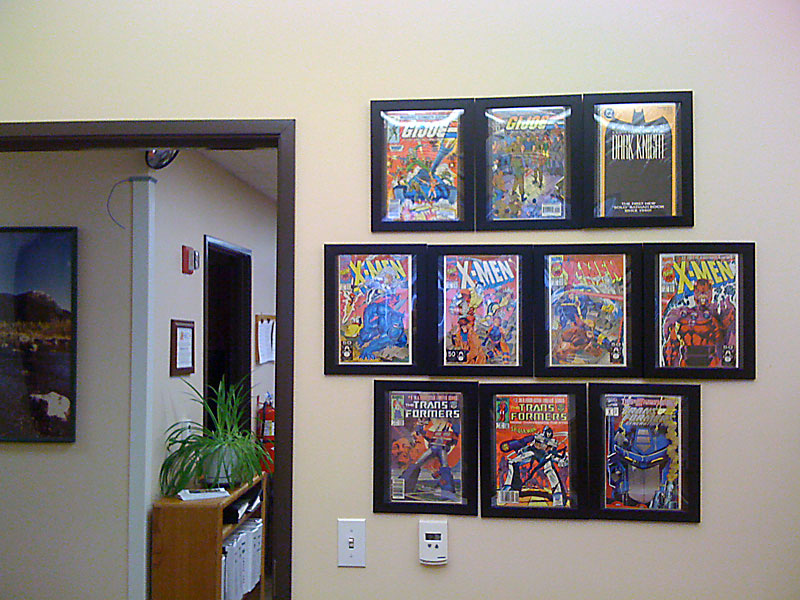
For a while now I have been wanting to find a safe way to show off my comic book collection in my office and around my home. I’ve done a lot of searching online for comic book picture frames, but have been constantly turned off by the price of them or the complete lack of UV protection they offer. Well, thanks to IKEA’s sub three dollar photo frames, I’ve found a solution.
Welcome back, everyone. I’m Yoshi and I’ve found a safe alternative to expensive comic book photo frames thanks to the sub three dollar photo frame from Ikea, and I want to share my solution with you now.
 Here is what you’ll need to be able to display and show off your beautiful comics safely and affordably.
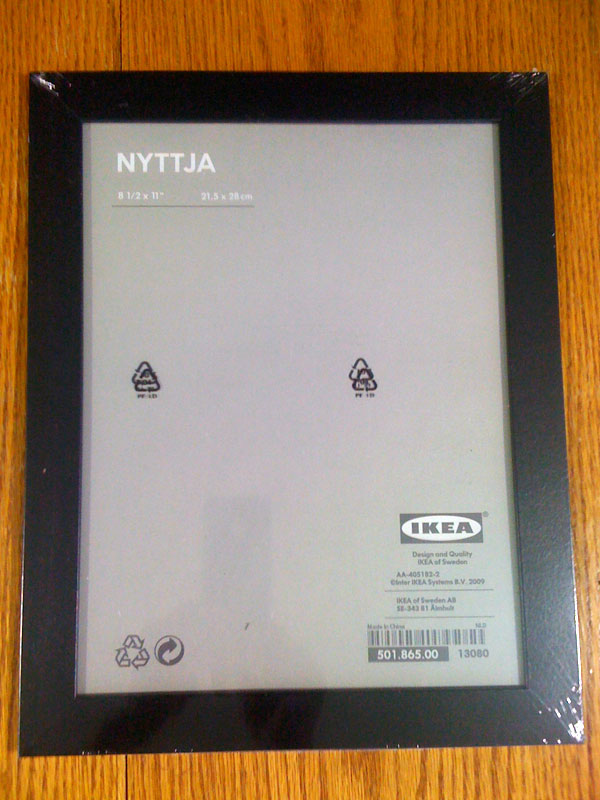
- IKEA Photo Frame
- Black Cardstock Paper 8 1/2 X 11
- Picture Hook
- Mylites 2 Mil Comic Book bags
- A Comic Book
Step 1, Large clean work area
Make sure you’ve got a nice clean area to work on. Between the photo frame, the comic book, and the MYLITES comic book bags you’ll need space to be able to lay these things out flat. The last thing you want to do is damage your comic book because you’re trying to work in way to of small of an area.
Step 2. Prep Your IKEA Photo Frame.
To prep your IKEA Photo Frame you’re going to remove its shrink wrapping and on the back side, you’re going to flip up the 6 blank metal tabs so you can remove the backing from the frame.
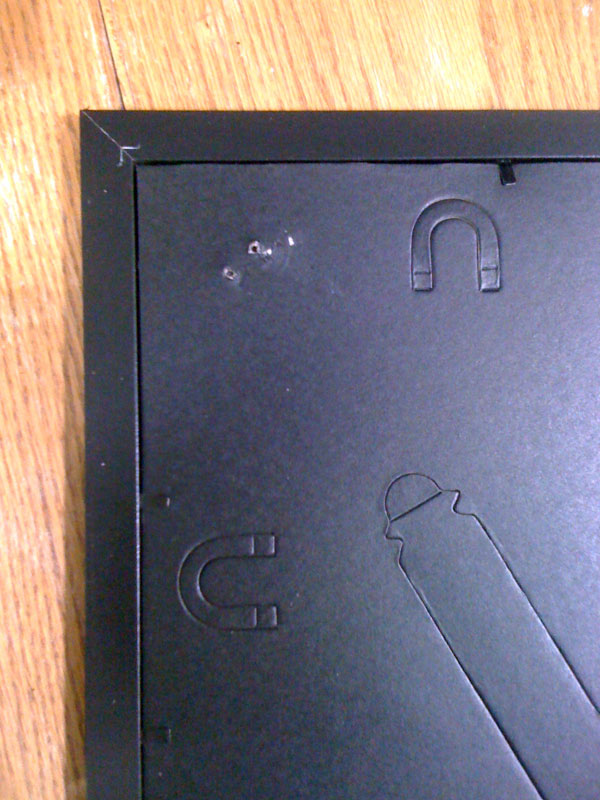 Go ahead and push out the hanger loop tap on the photo frame backing
Now we’re going to have to remove the kickstand from the photo frame backing so that the frame. This piece sticks out just enough to keep the frame from laying flat against the wall, so it has to go.
Holding the photo frame backing down on a flat surface, wiggle the diagonal kickstand piece until it can be pulled free from the backing. If you are worried about doing too much damage to the backing, I also found simple kitchen scissors to be helpful.
Now that, that is done let’s going ahead and get rid of the paper from behind the plastic window of the photo frame. You won’t be needing it.
Next, let’s lift the plexiglass like window from the photo frame and remove the plastic wrap coating. Each side of the plexiglass is covered with a thin sheet of plastic wrap like coating. You can remove it by rubbing your fingers gently across the edge of the plexiglass until you can pull it off completely.
With the plastic wrap removed let’s place the plexiglass window back in the photo frame keeping the photo frame face down.
Now that we have the IKEA photo frame prepped for our comic book let’s move on to Step 3.
STEP 3. Bagging Your comic.
This step is really the key to protecting your comic books. Since your comic is going to be framed and hanging up you really should take make sure you can do everything you can to protect it from Light or U.V damage. I do this by using MyLites 2 Mil bags.
E. Gerber MyLites bags are archival grade bags that stops 99% of UV light. I’ve used these bags for years and if you care about the comics you’re going to be framing do yourself a solid and use these bags. I have a link to the exact size of bags I use down below in the show notes.
Mylites bags can be a little pricey. Especially if you’re just framing one or two comics it doesn’t make sense to buy a pack of fifty of these bags. So, what I might suggest is that you check out a comic book store and see if they carry these bags and if they will let you buy just a couple of them at a time.
So with your mylites bag go ahead and bag your comic book up. Folding the flap over.
 Step 4. Framing your Comic
Place the bagged comic book face down on the plexiglass window so that it’s centered and level.
Now let’s take a sheet of Black Cardstock Paper and place it ontop of the comic book.
Once that is done we can now place the backing back on and press down the metal tabs to secure it in place.
And there you have it. A beautifully framed comic book for cheap. All that’s left to do is to hang it on your wall with a nail or a picture hook and you’re all set.
Comments are closed.
I’m trying to look for the frame you posted but haven’t found anything I was wondering if you had any other suggestions ??? Thank you!
Hello Phillip,
I’m learning that IKEA changes their website around a lot. The updated link has been posted above and I’ll give it to you here also. Please be sure to pick the right size frame, 8 and a half by 11. http://www.ikea.com/us/en/catalog/products/90300358/
Great video, thanks for the tip. I didn’t know about those MyLite bags.
John
You bet man. Good luck. Keep me posted. What love to see what you end up doing.
Ikea no longer has the 8.5×11 frame you are suggesting and I don’t see an alternative. Any other suggestions?
This one might fit the bill: https://www.ikea.com/us/en/catalog/products/40295651/