Lets start off with a list of items you will need to create these envelopes.
- Comic book(s)
- Internet Access
- Envelope (3-5/8″ X 6-1/2″)
- Sharpie
- Scissors
- Glue Stick
- Labels (I use ‘Avery’ labels. 1″ X 3″. I got a pack of 72 for $1.12.)
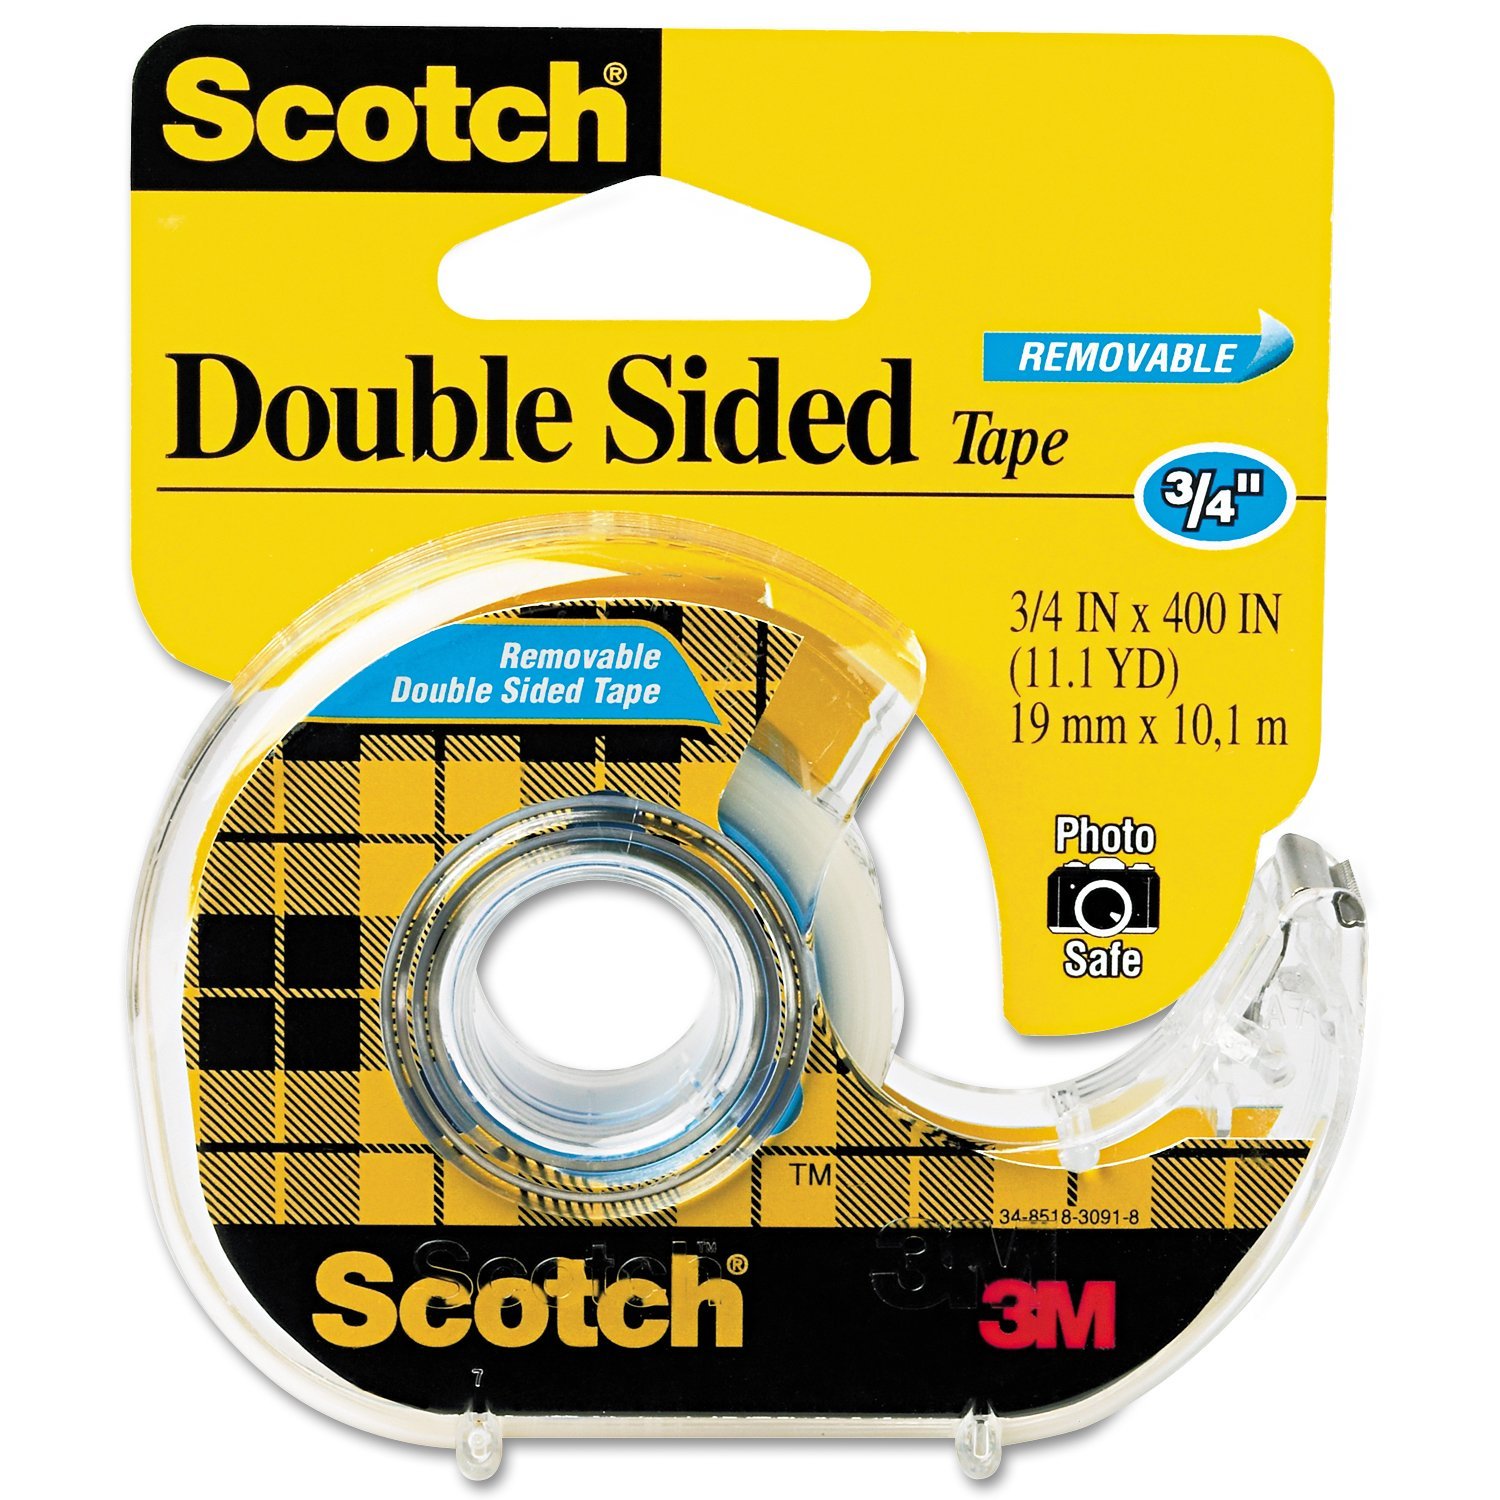
- Double Sided Scotch Tape
Step 1. Comics!
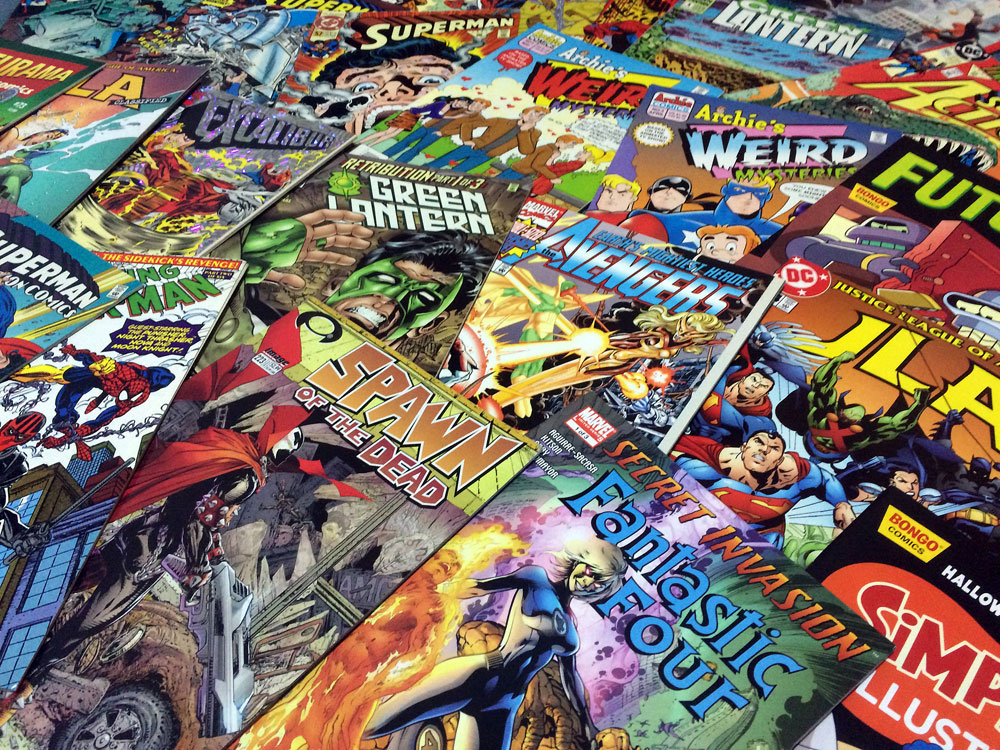
Get yourself a comic book or two. You can find them in grocery stores with an average cover price of $3.99 or you can go to your local comic book store. Comic book stores often have a fifty cent bin or a dollar bin of comics books. You can find comics with great art work for cheap at these places! You could also find inexpensive, oversized art books at a used book store. I have found that these are also great for creating envelopes.
Step 2. Internet Access!

Check online comic book price checkers to make sure the book you have isn’t some rare or valuable book! Trust me. You don’t want to be known as the person who cut up a piece of irreplaceable history. So, once you get home with your comics, especially those you might have gotten from the dollar bin of your local comic book store, check their value. Don’t destroy rare or valuable comics! Chances of this happening are slim to none, but as a comic book fan myself it would be remiss of me not to suggest this. I’ve used online free services like Comic Book Realm or Comics Price Guide to help me determine if a book was valuable.
Step 3. Envelope!
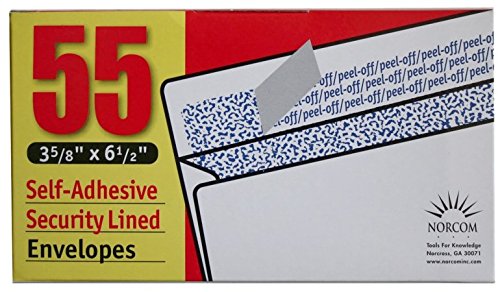
Get a box of envelopes with the measurements of 3-5/8″ X 6-1/2″. These are the square or rectangle shaped envelopes which I find work a lot better than the triangle envelopes when lining up the image on the comic book you want to be the focal point of your envelope.
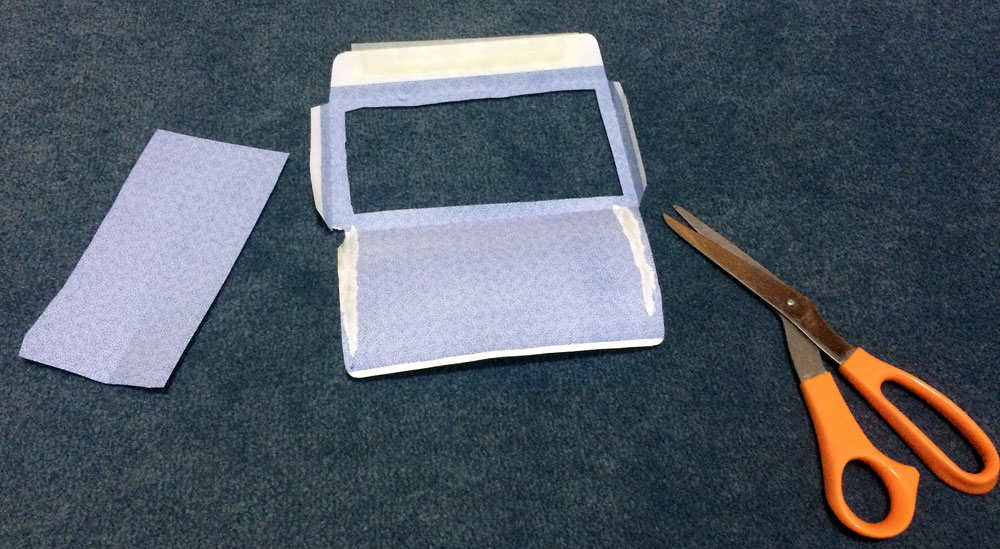
Once you have one of these envelopes you want to gently pull it apart at the seams so you can lay it out flat. This will be your envelope template
TIP: You can cut out the center of the flattened out envelope so you can see where your image is going to be on your new envelope. You can also use your flattened envelop template to create a stronger template out of cardboard if you would like.
Step 4. Remove Staples!
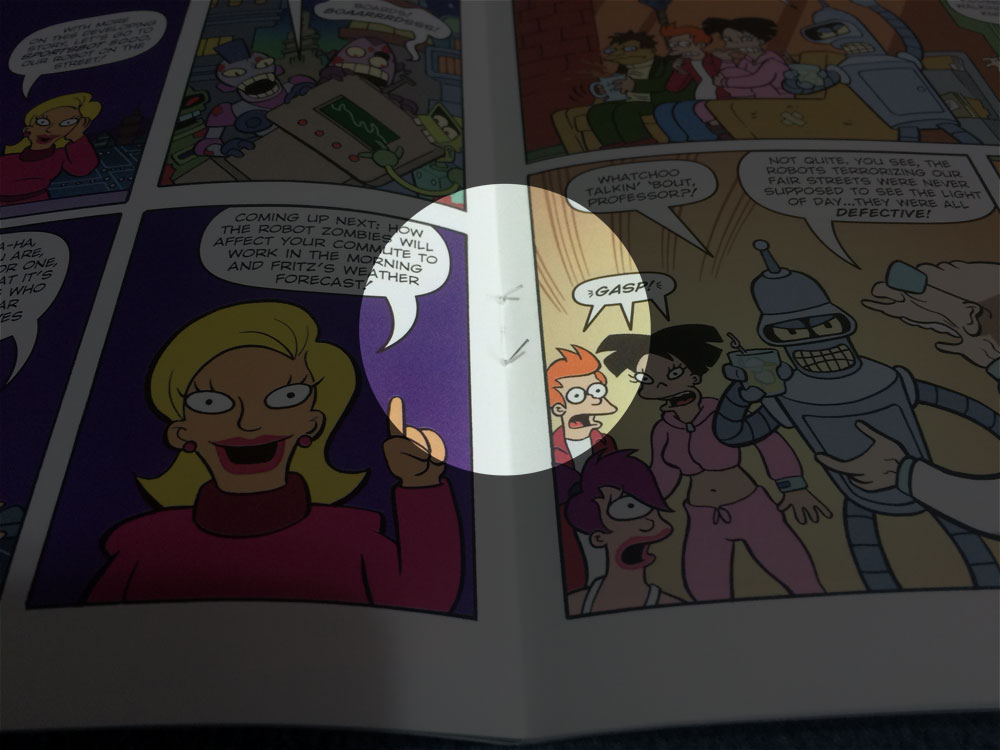
Once you have picked out the image on the comic book you want to be on the front of your handmade envelope you’ll want to remove the staples from the comic book and and just pull out the one page that you want to use for the envelope. I have always been able to use my finger nail to remove the staples, but you can carefully use tweezers or even a butter knife if you like.
Step 4. Sharpie!

Trace around your template on top of the comic book page you want to be the focal point of your envelope using your pen. I would suggest using a sharpie or a marker here to make it easier to cut.
Step 5. Scissors!
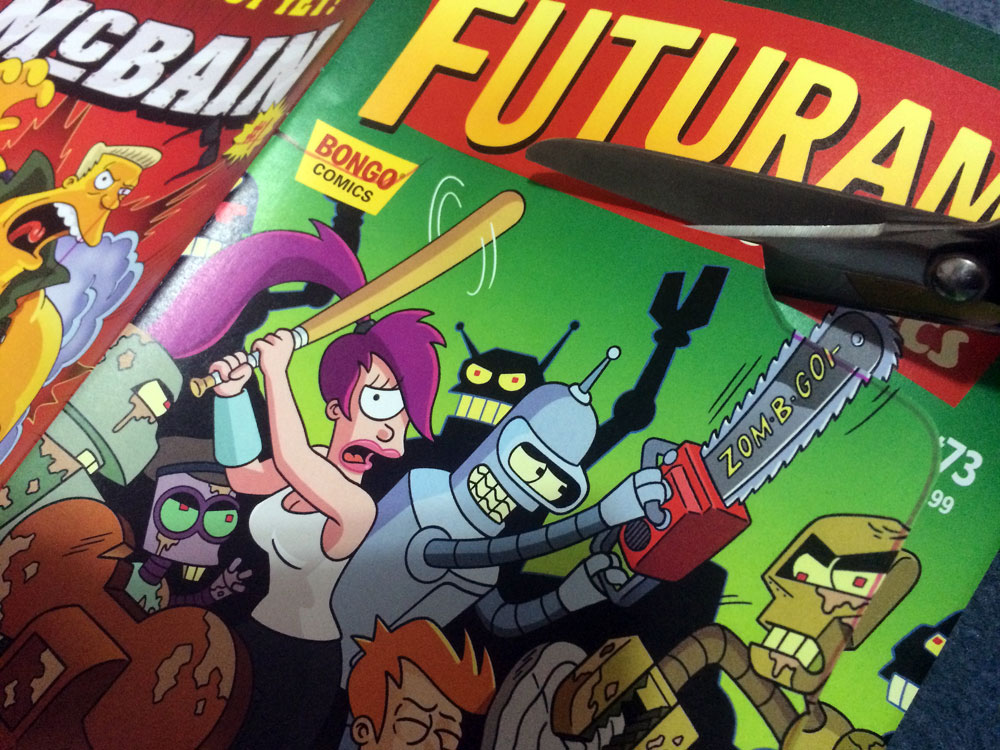
Grab your scissors and cut around your outline.
Step 6. Folding!
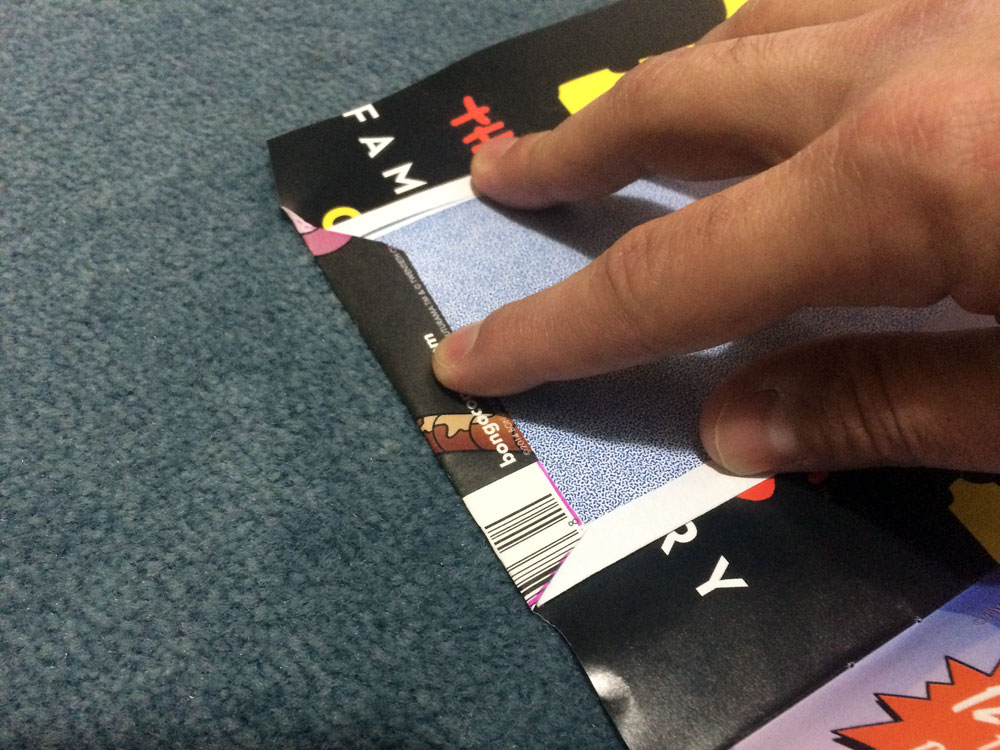
Using your envelop template as a guide, fold all sides of your envelope. First the sides, than the bottom and finally the top flap. Once all the sides have bin folded over the ruler, remove the ruler and finish the fold my pressing down on it with your finger so it is flat.
Step 7. Glue Stick!
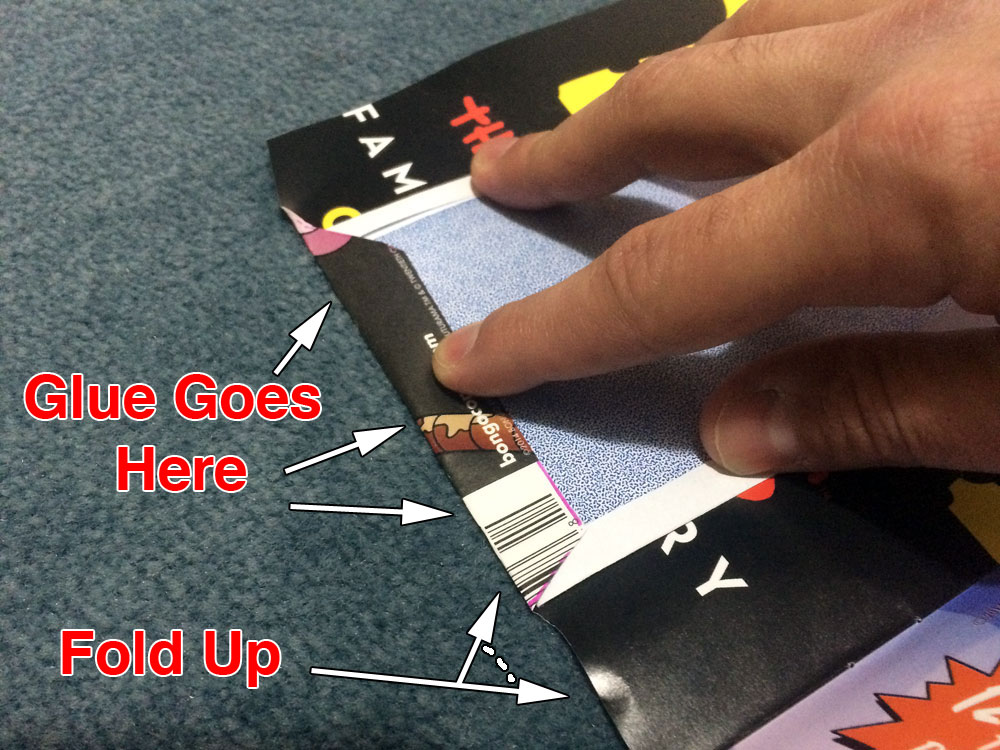
Uncap your glue stick and apply the paste to the left and right folds. Next, lay the bottom fold across the left and right fold tabs so that it sticks. Do not glue the top flap. Your letter needs that open so it can be inserted into your envelope!
At this point I like to put the envelope under a book for several minutes to help the glue stick better.
Step 8. Labels or Stencils!
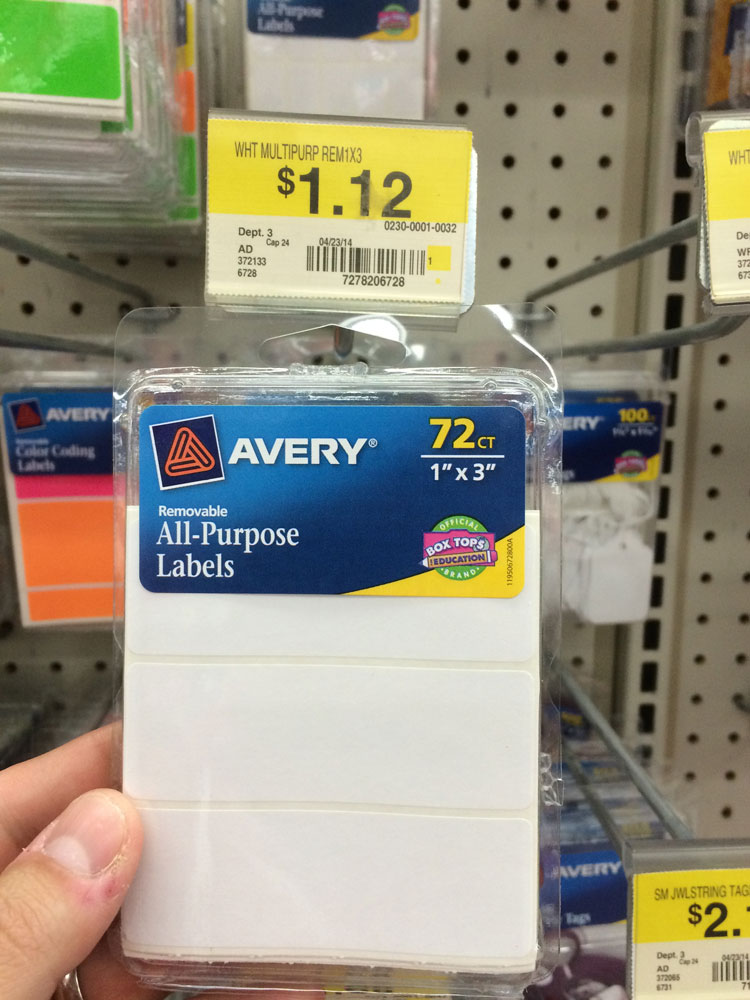
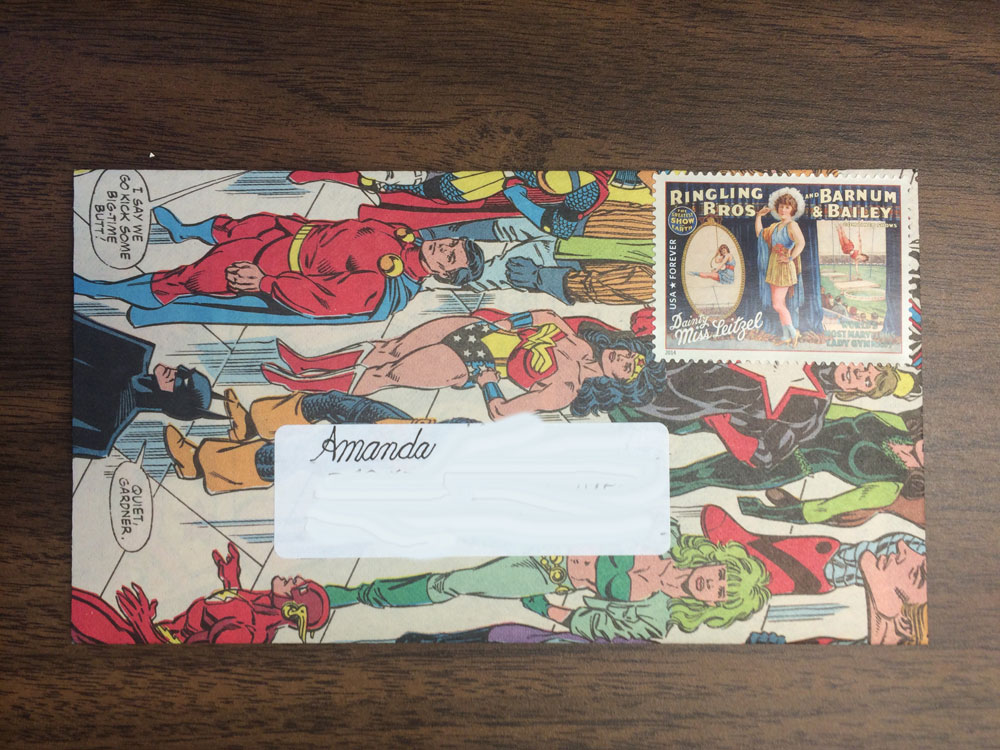
There are two ways I’ve found to address these envelopes. The easy way is to get yourself a pack of Avery labels sized, 1″ X 3″. Take two labels. On one label write down the recipients address and then apply it to the front of the envelope doing your best to not cover up important parts of the image. One the second envelope write your address. This will be applied on the back flap of the envelope.
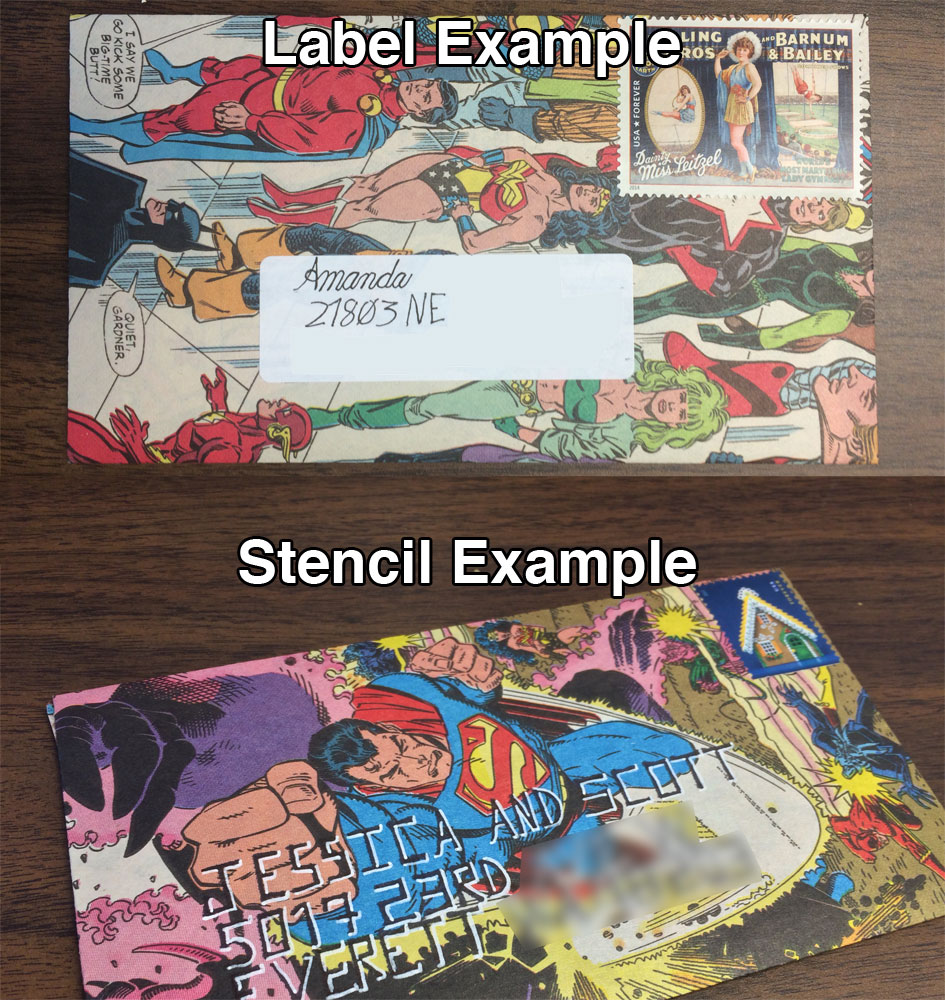
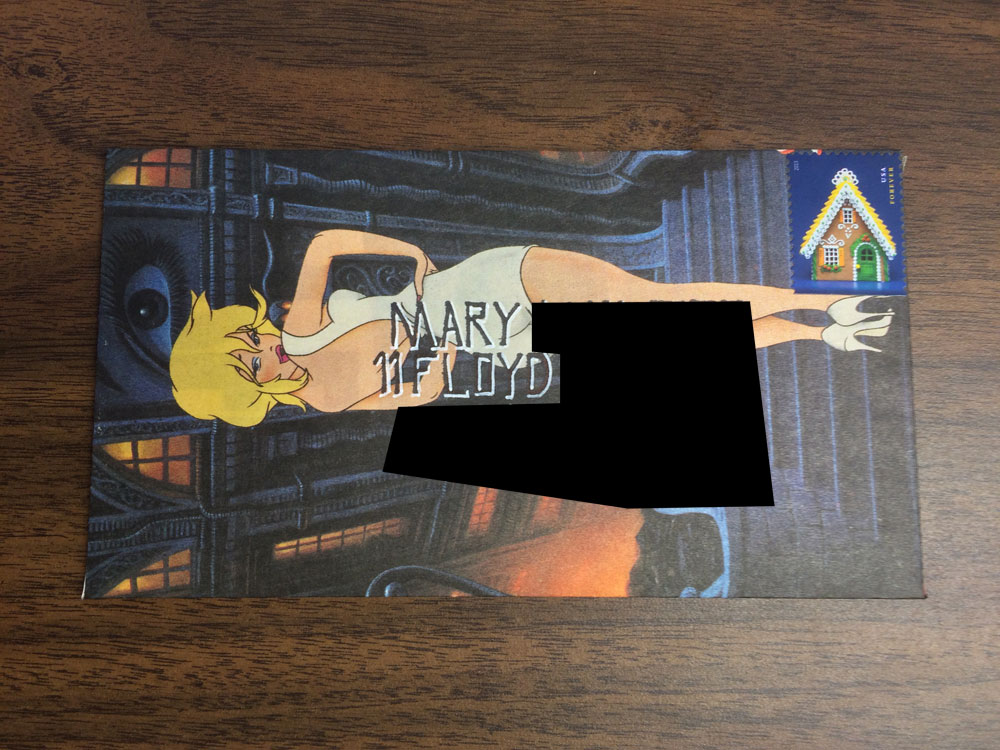
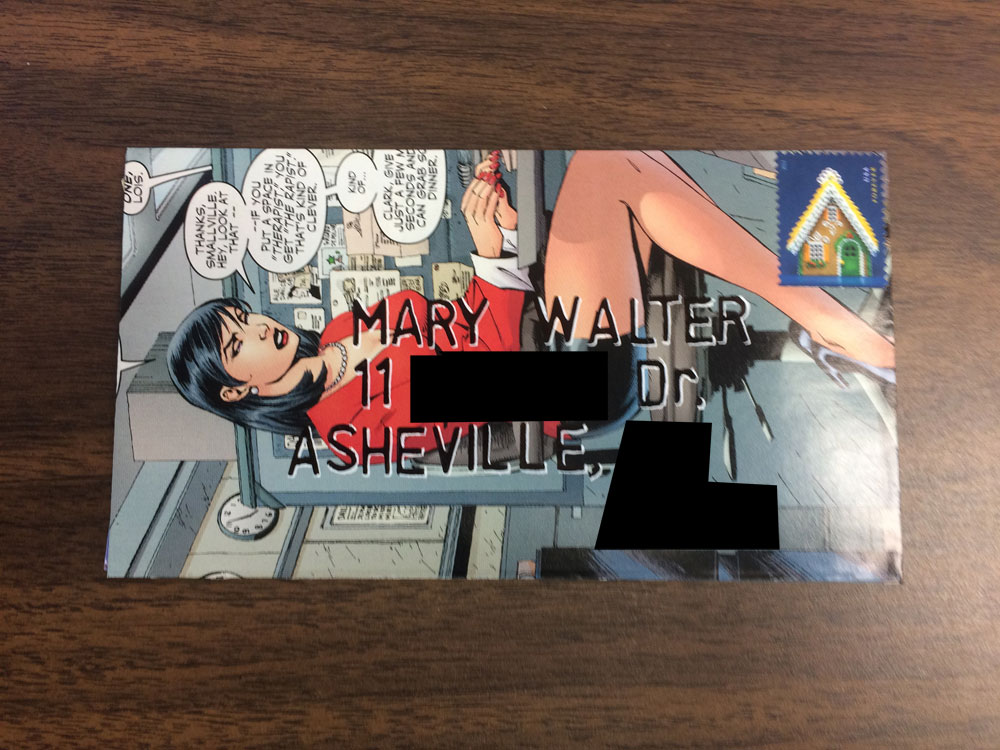
Recently however, I’ve been using a combination of stencils, Black Sharpie Ultra fine point pens and white gel pens. (Here is a Link to the Stencils I use.) I like this method of addressing my envelopes because it does not cover up as much of the image as a label would. I still uses a label on the back of the envelope for the return address.
Step 9. Double Sided Scotch Tape!
Once you have written your letter and put in the envelope you can apply double sided scotch tape to the flap so that you can seal the letter closed. I like to use three small strips across the flap.
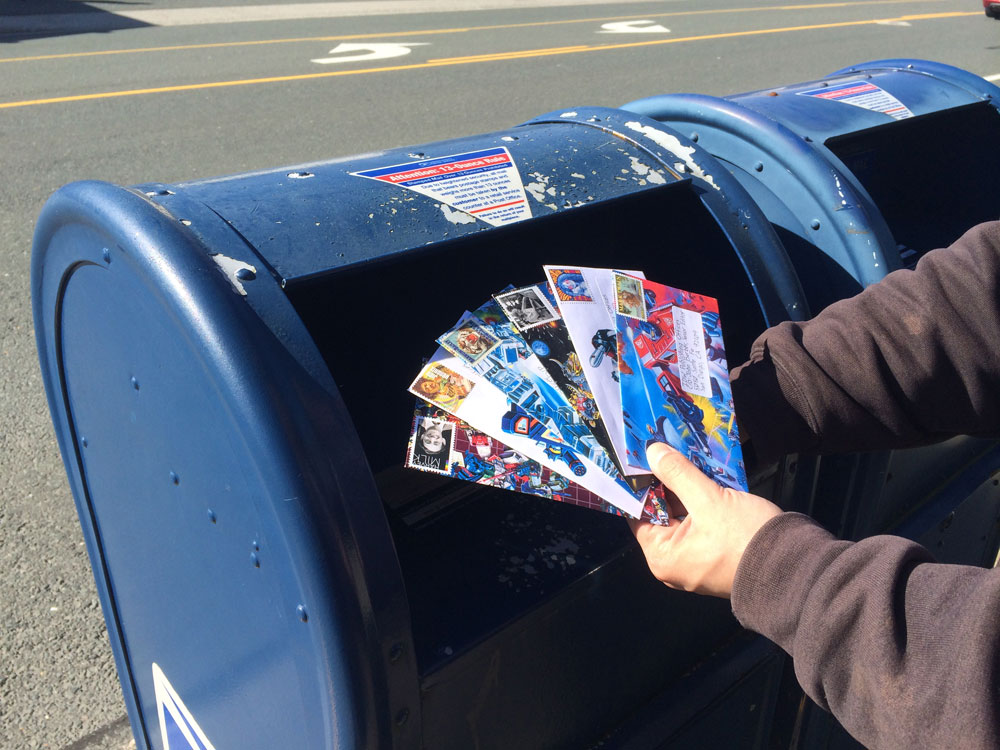
Don’t forget to stamp the envelope before you put it in a mail box!
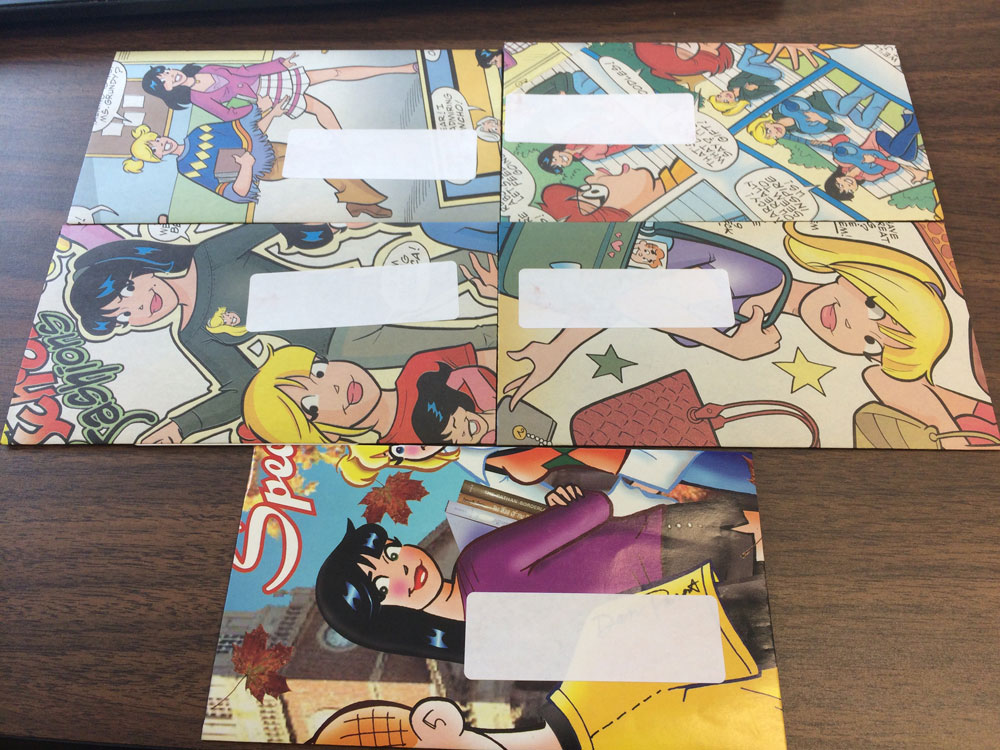
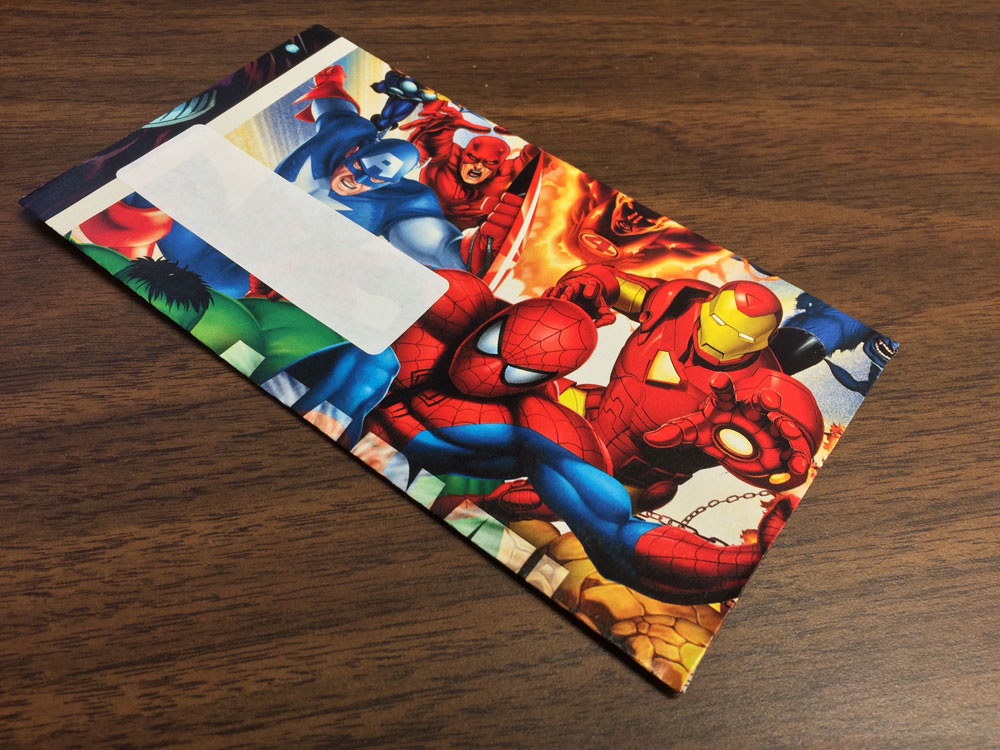
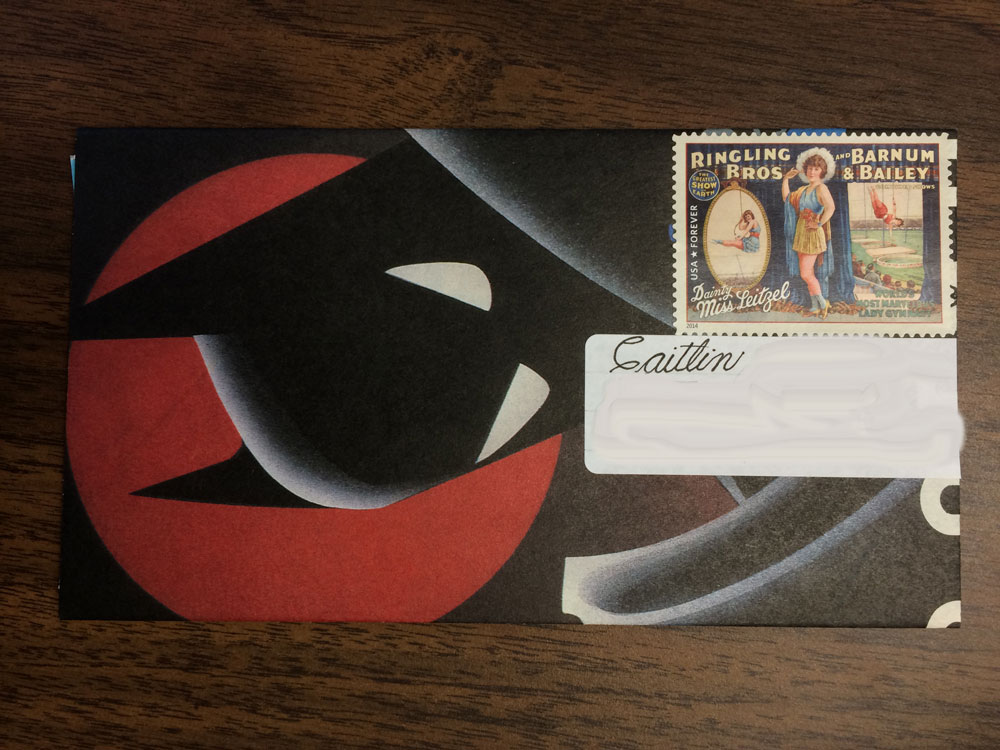
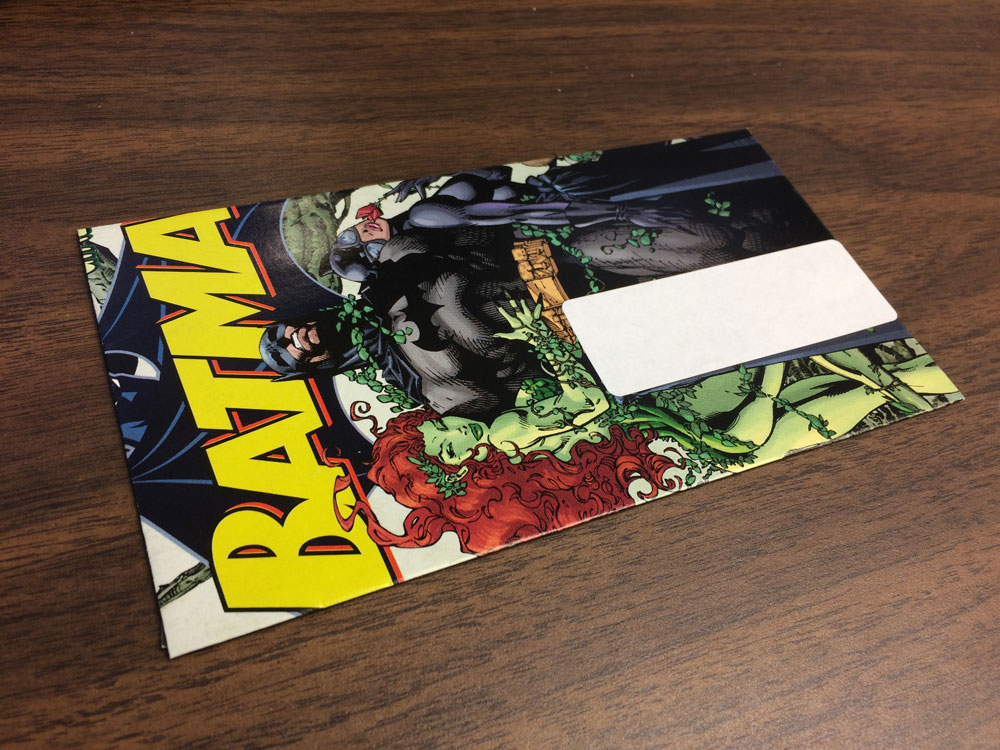
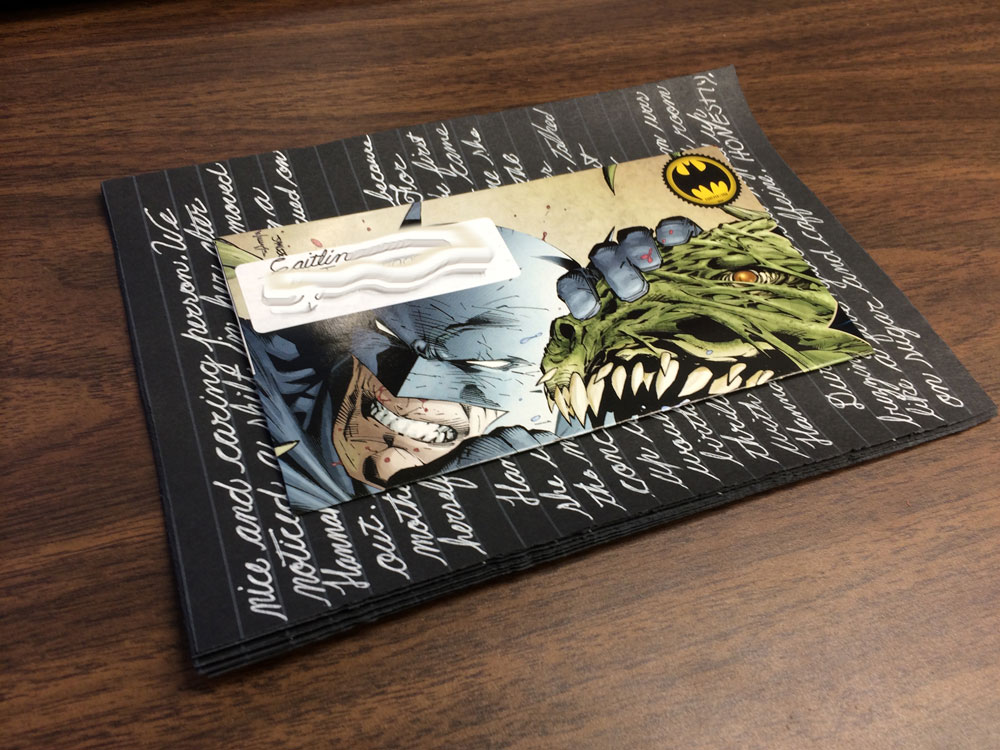
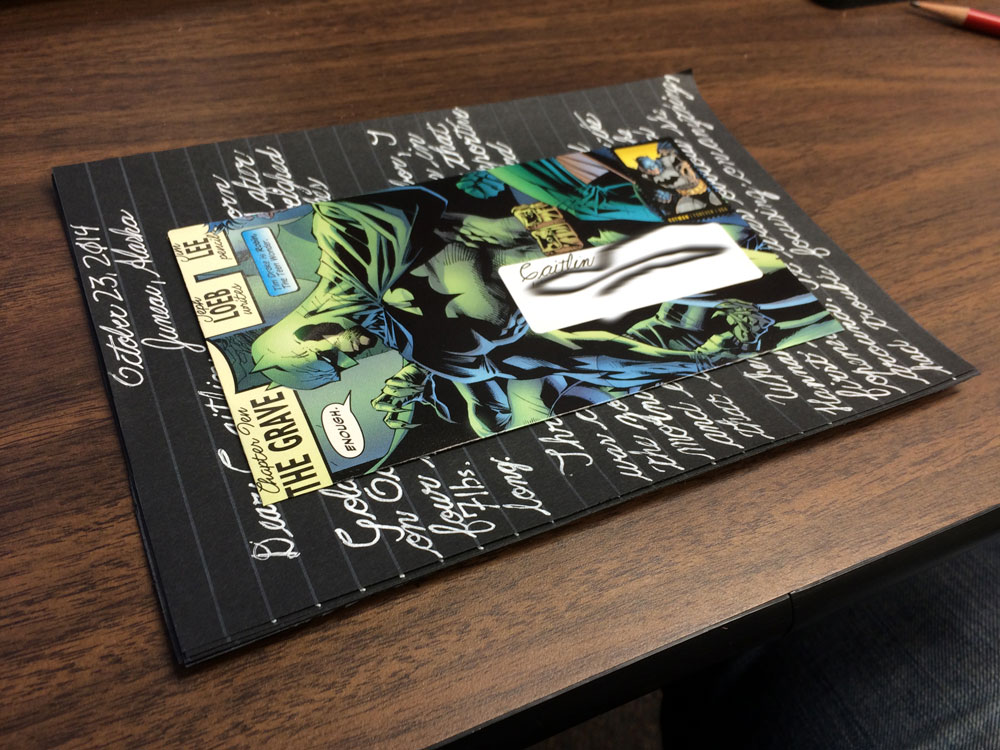
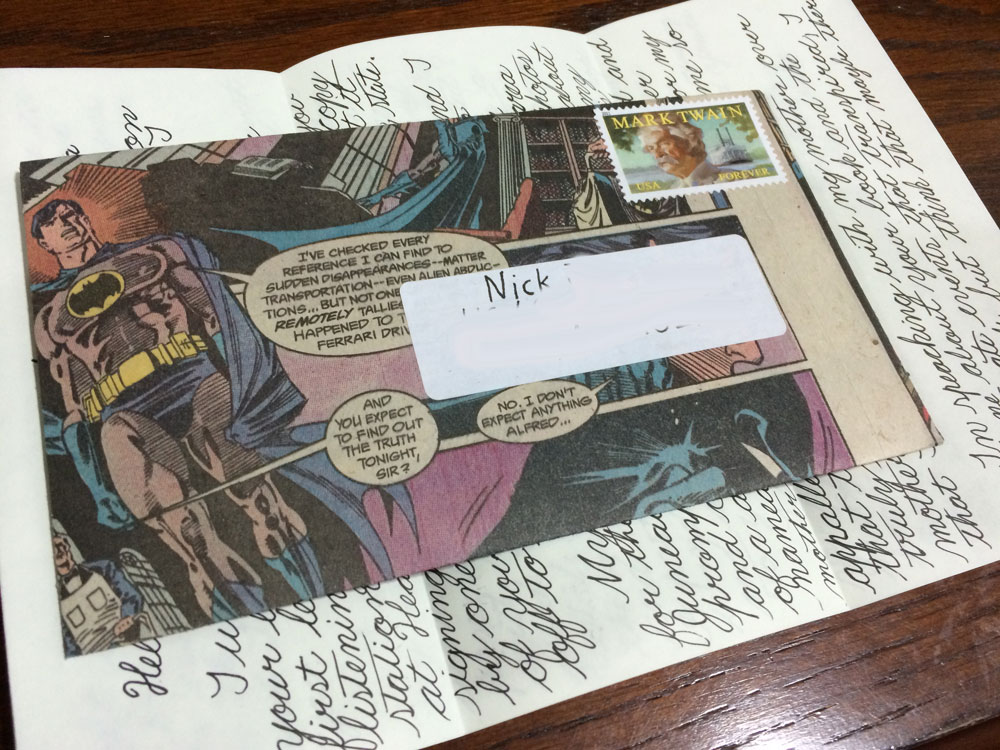
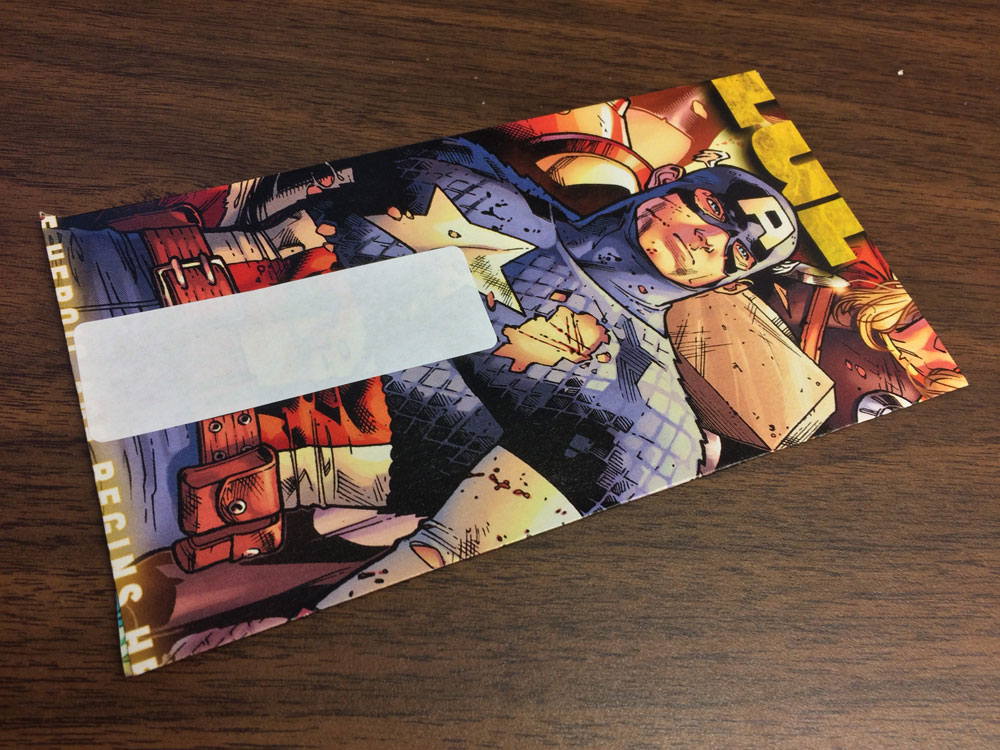
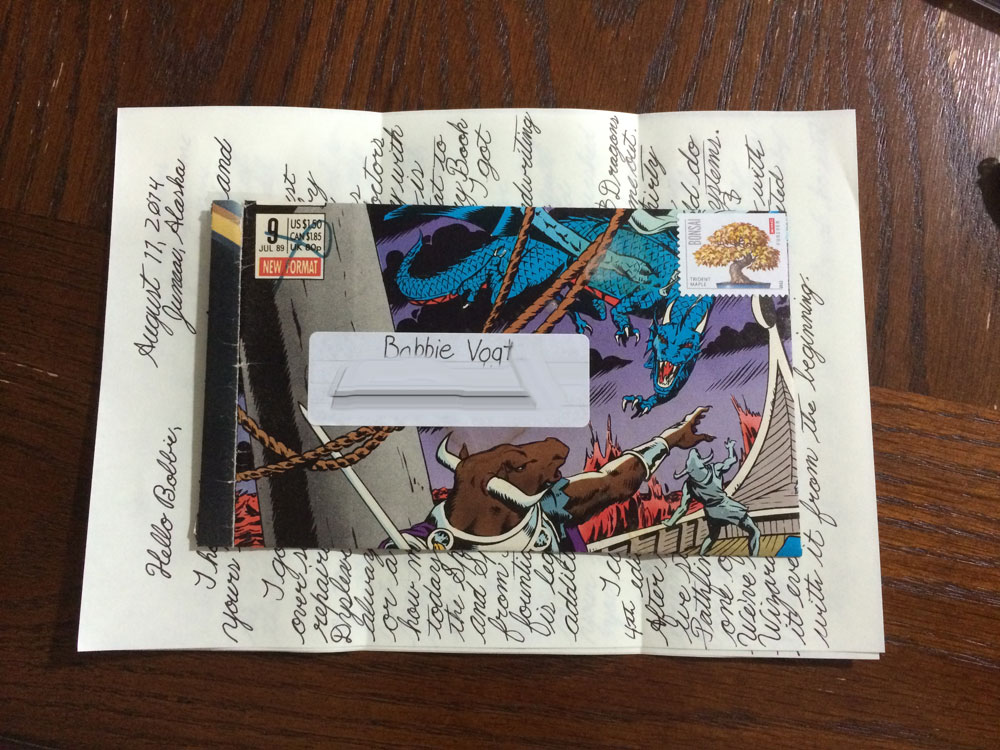
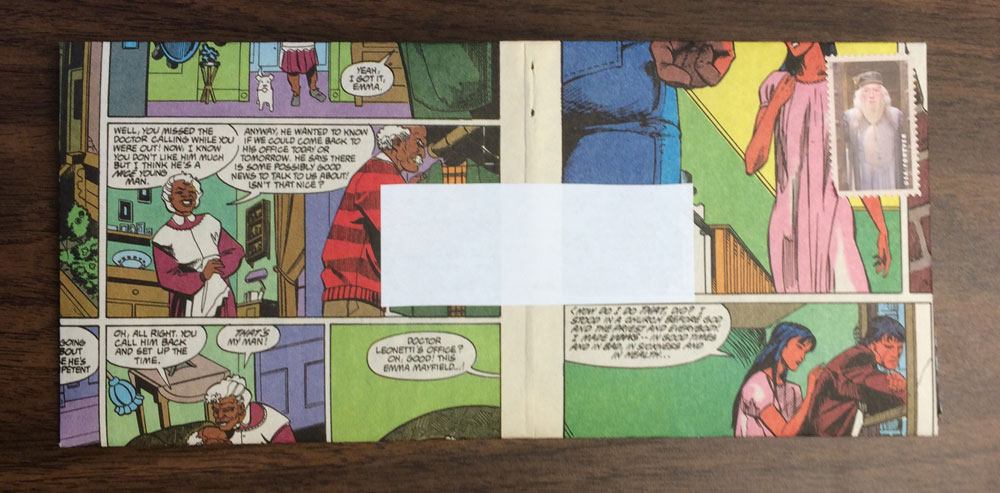
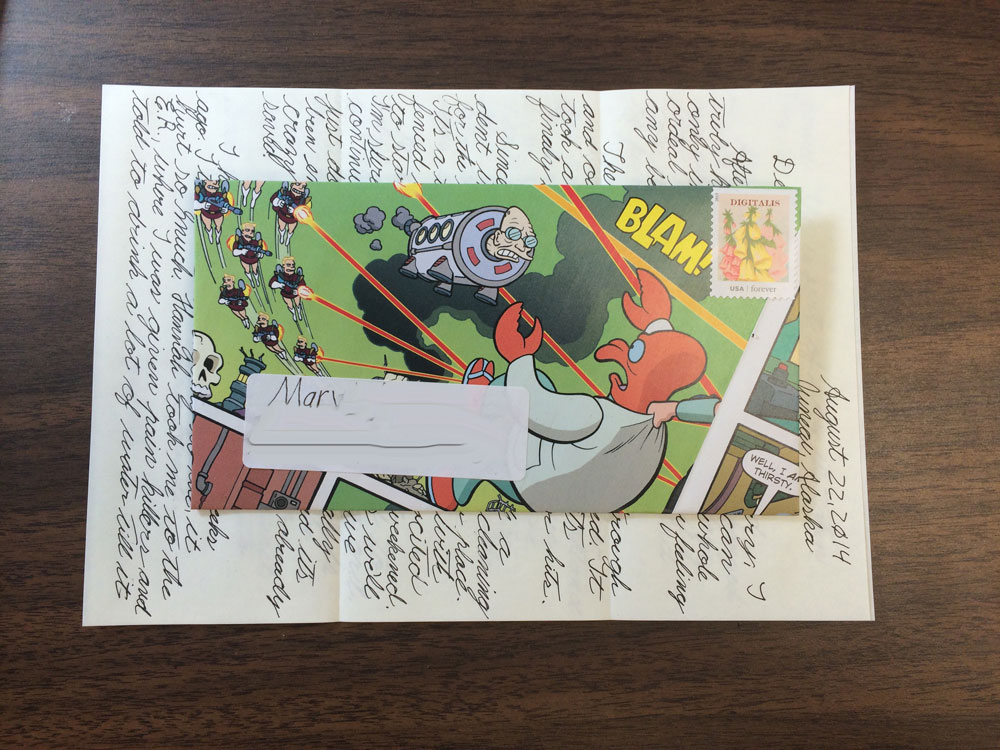
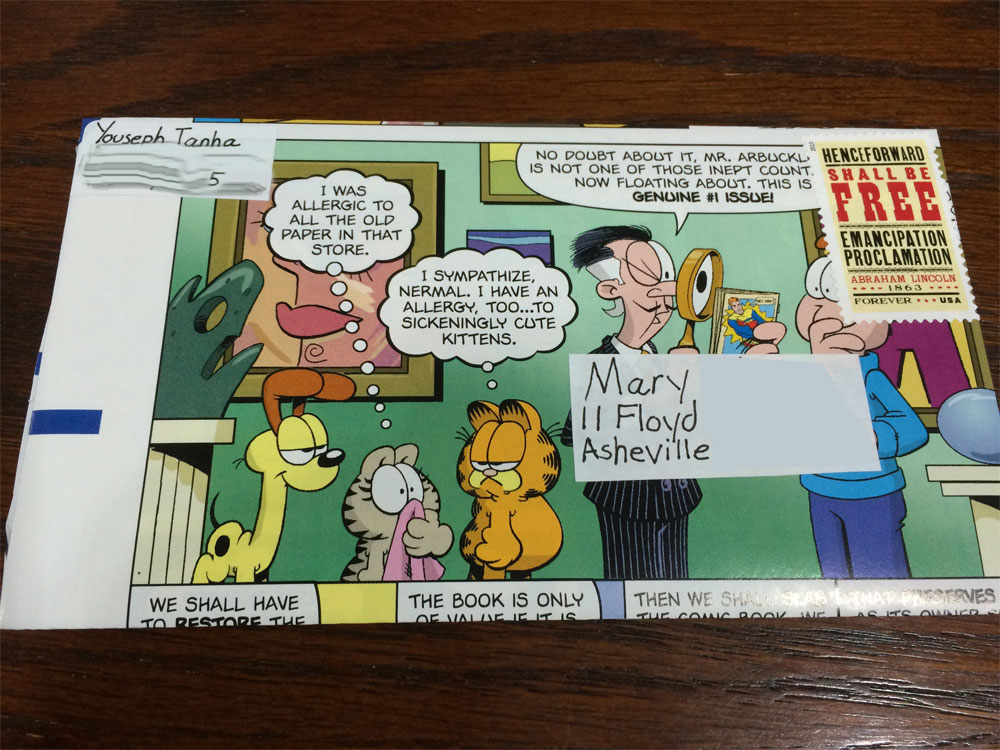
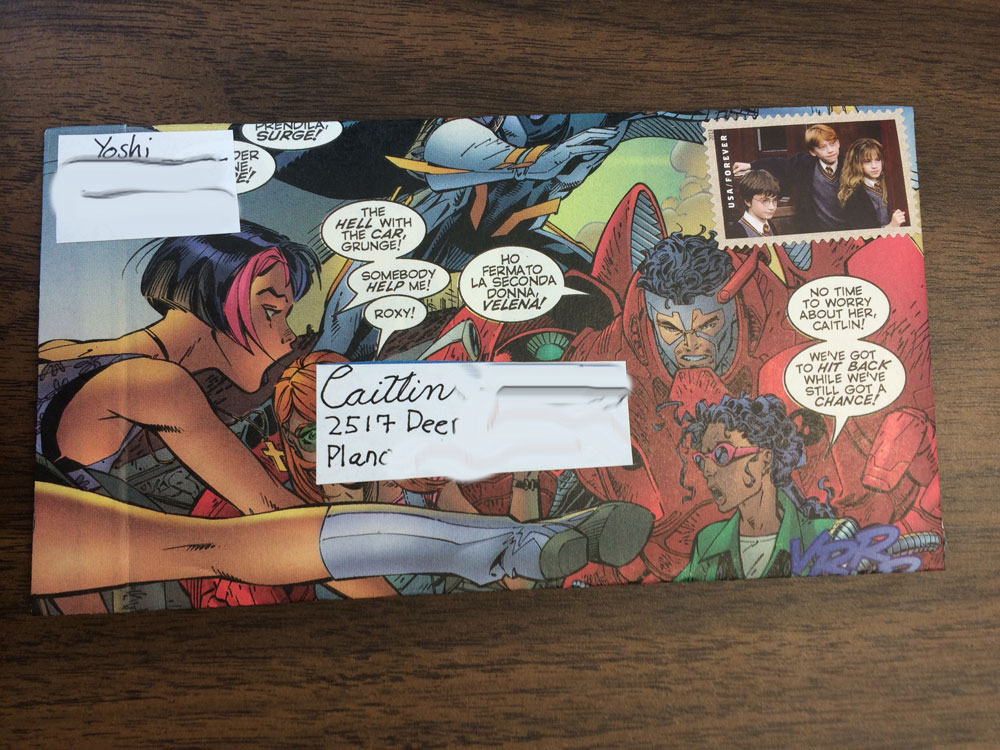
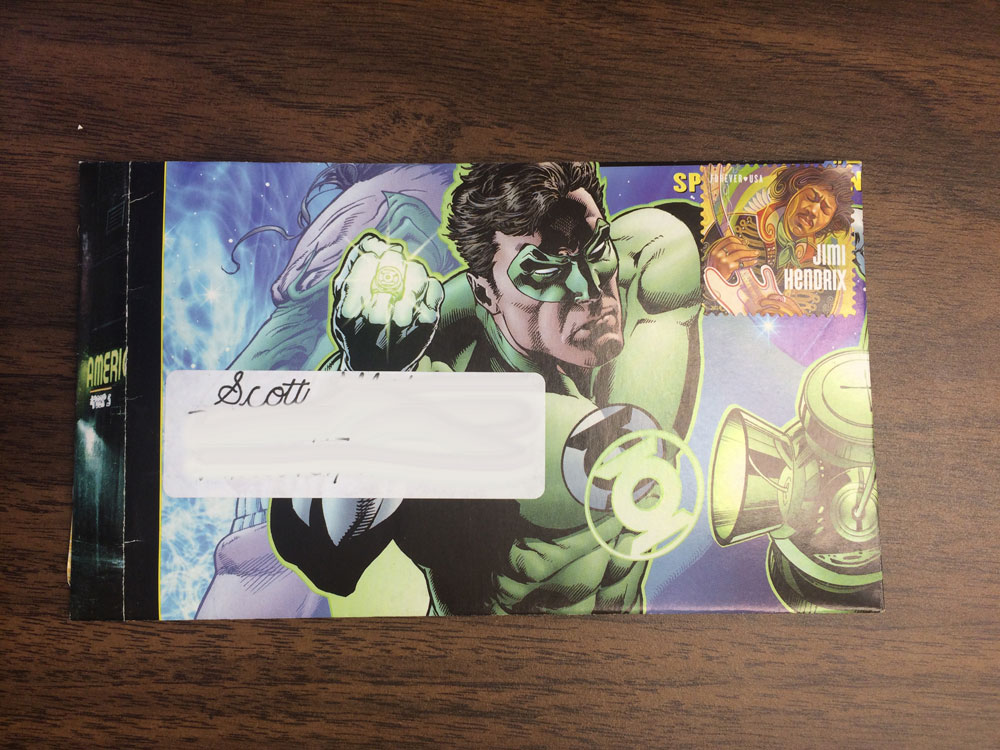
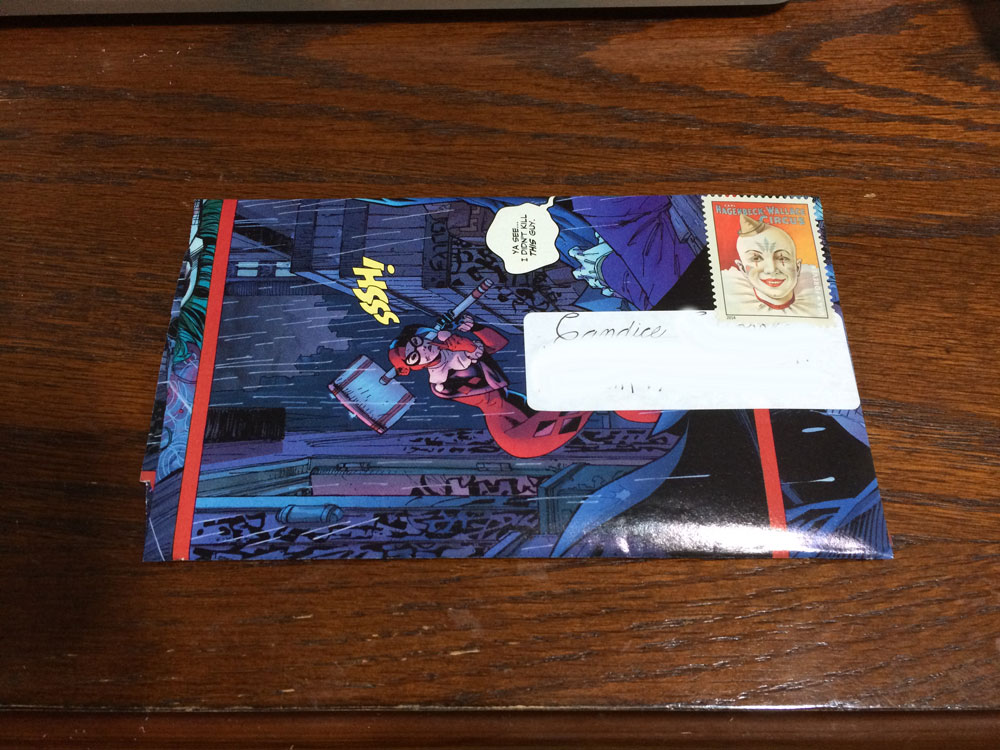
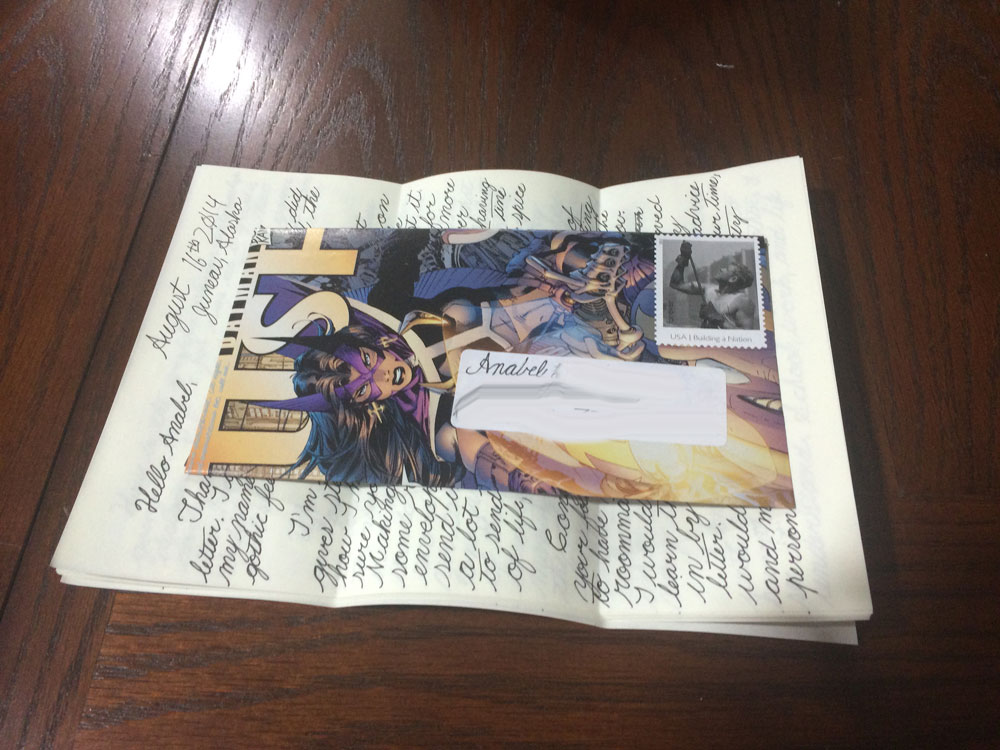
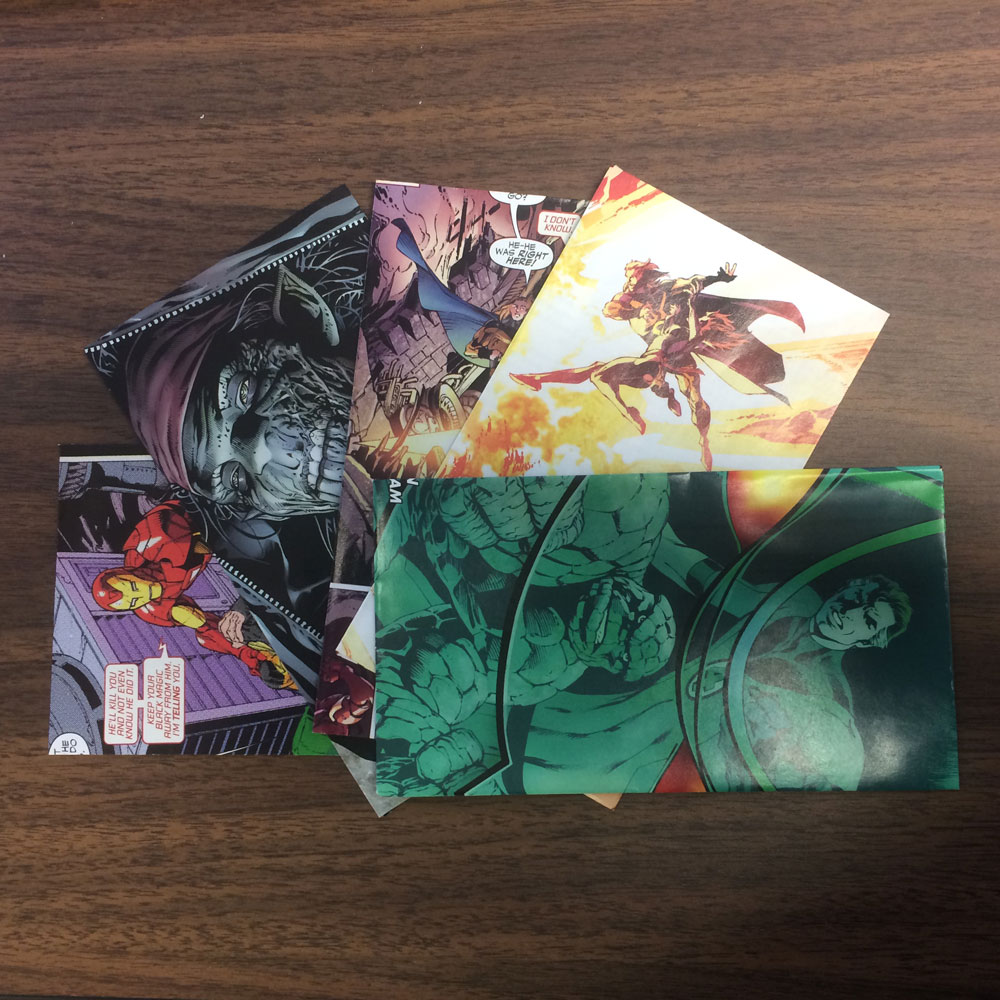
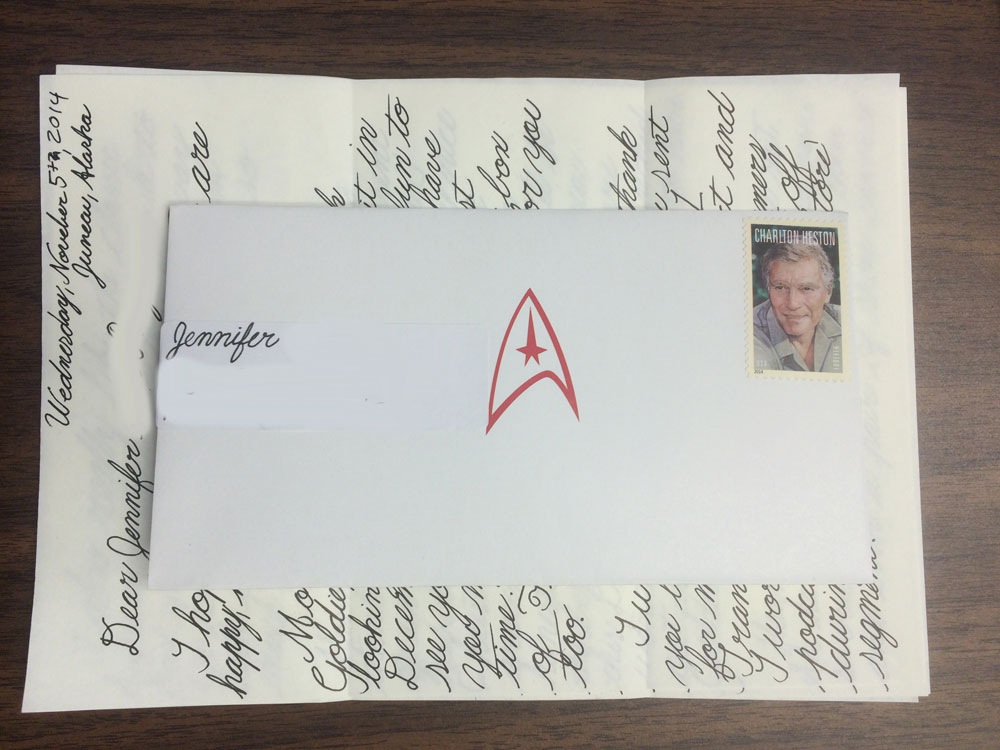
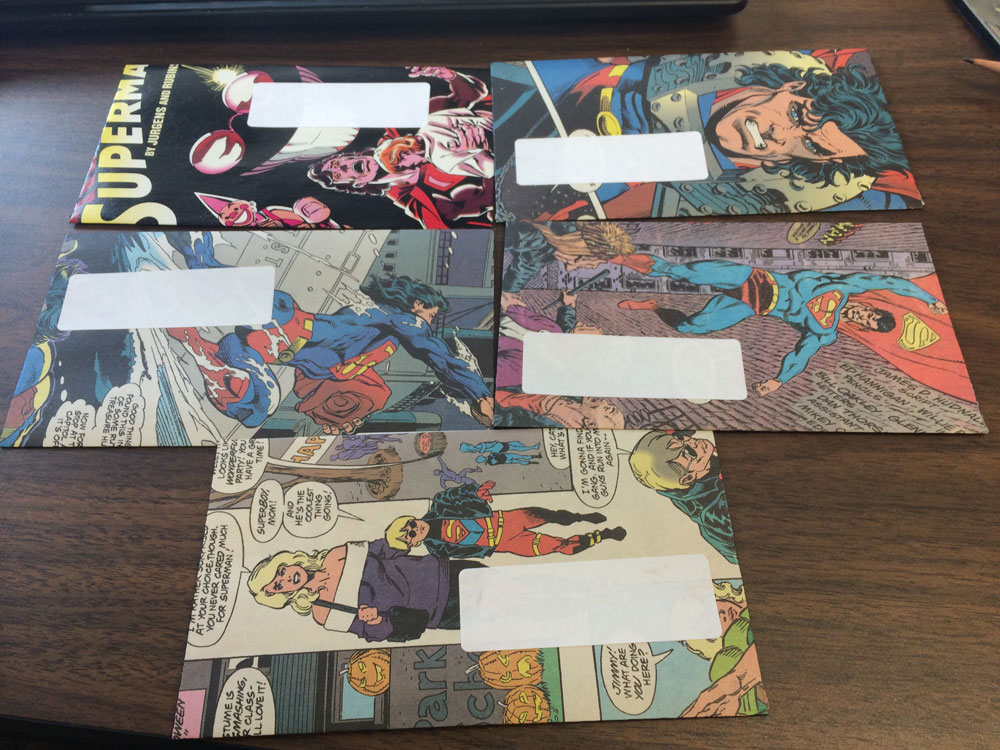
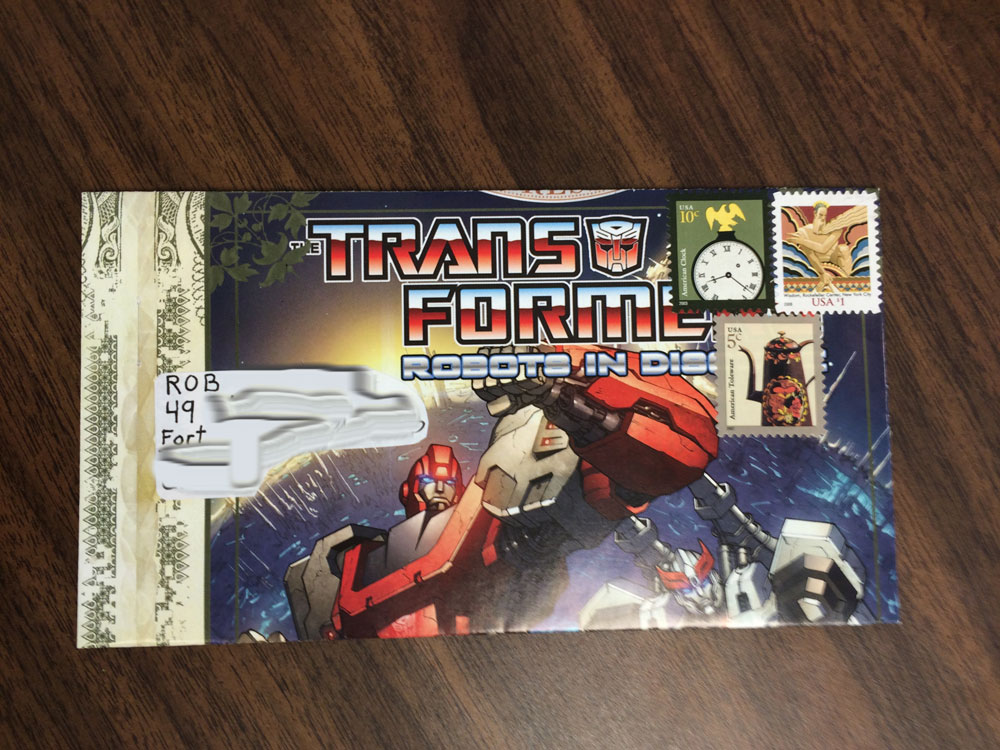
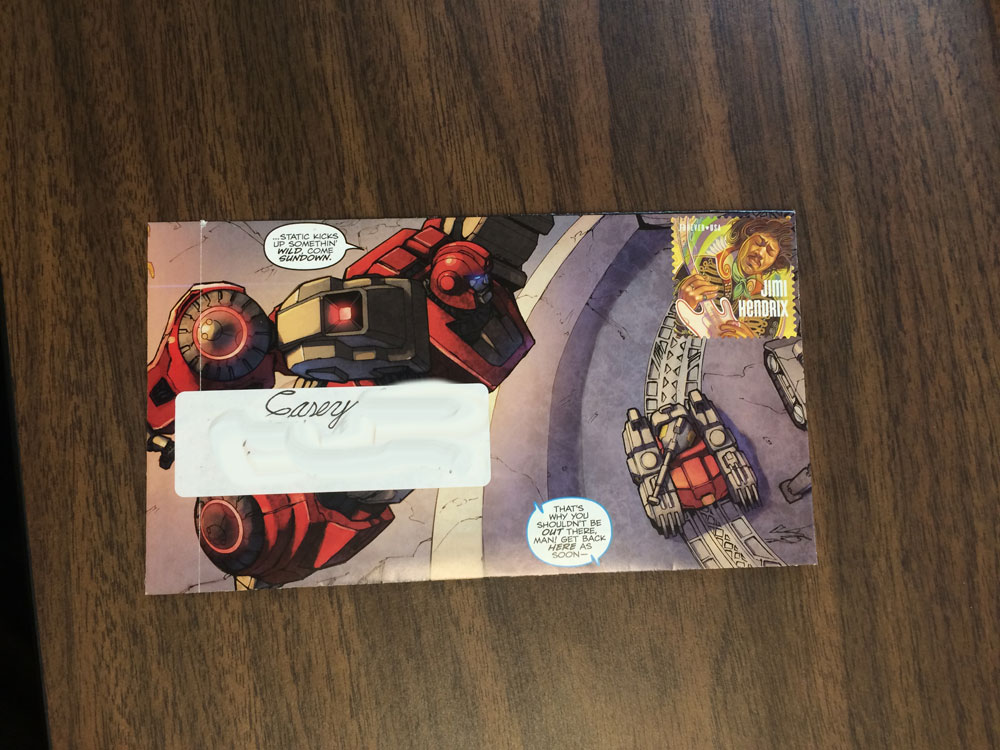
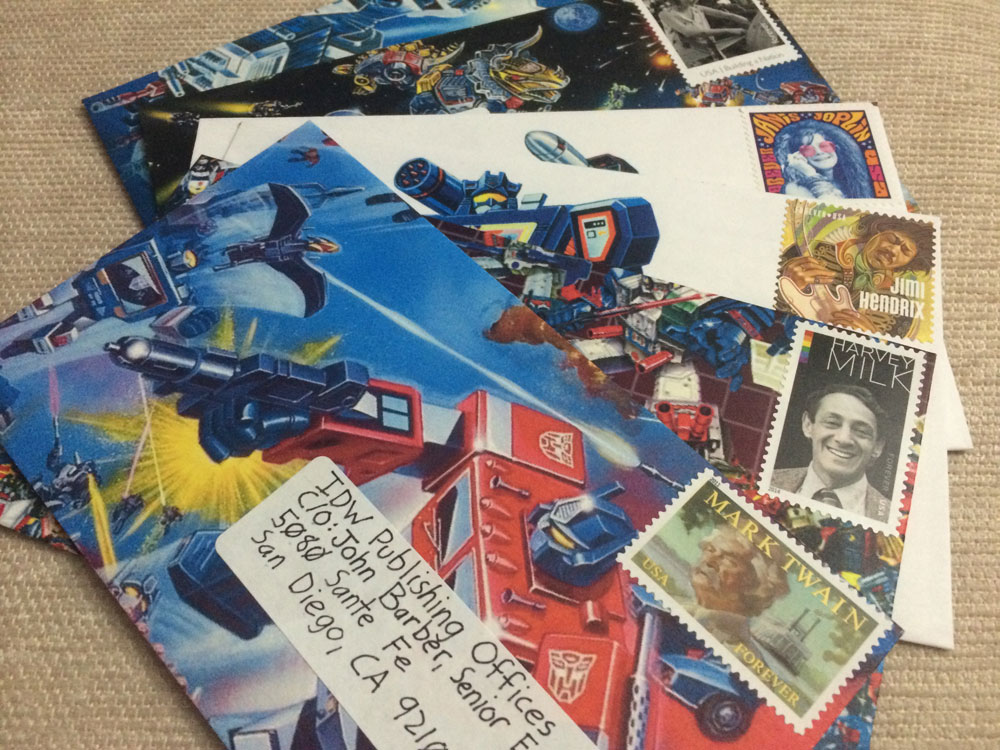
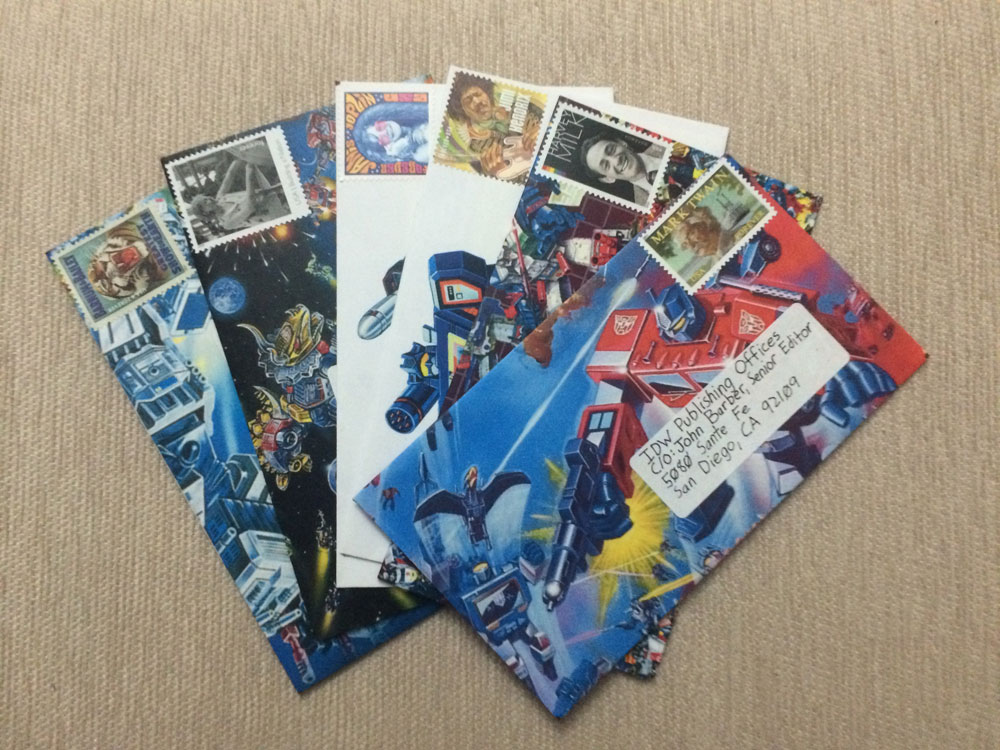
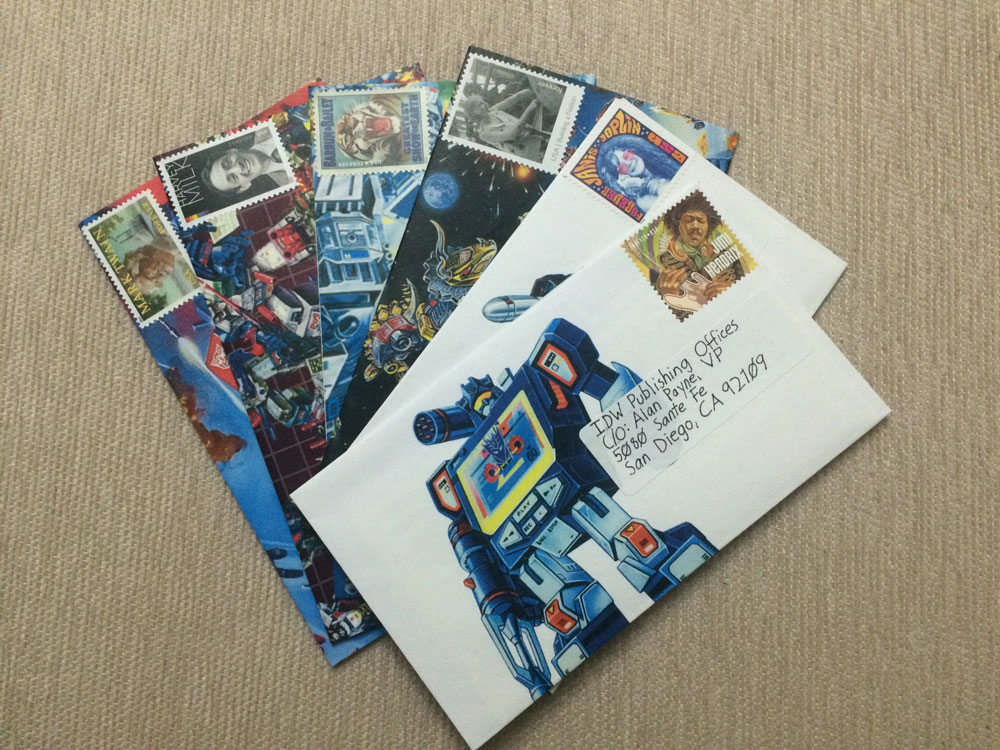
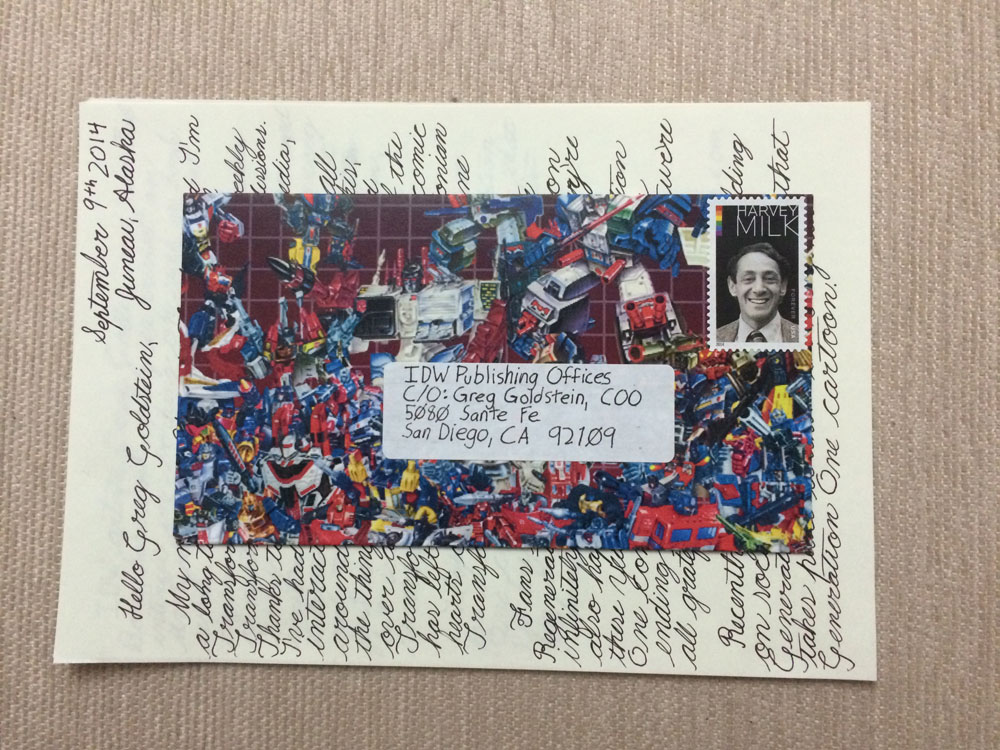
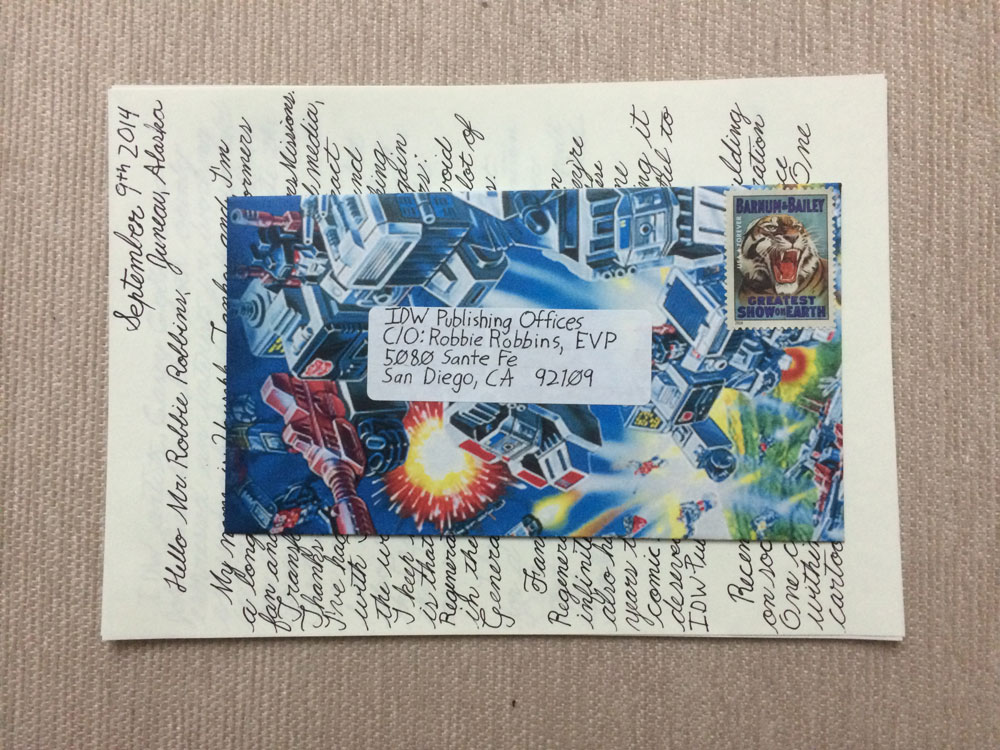
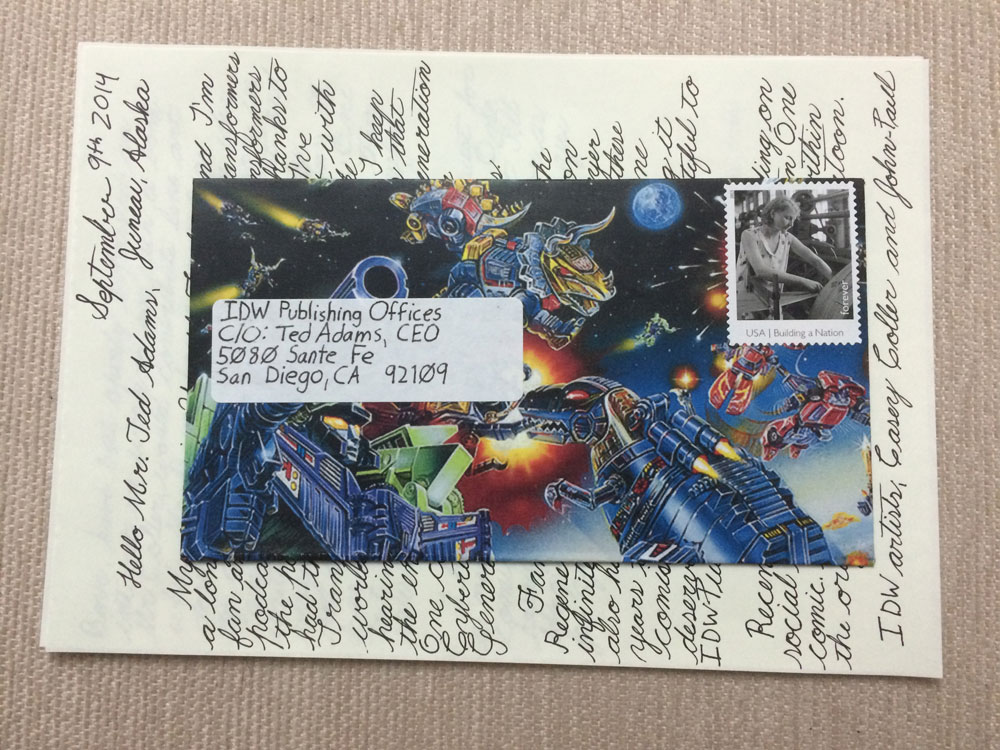
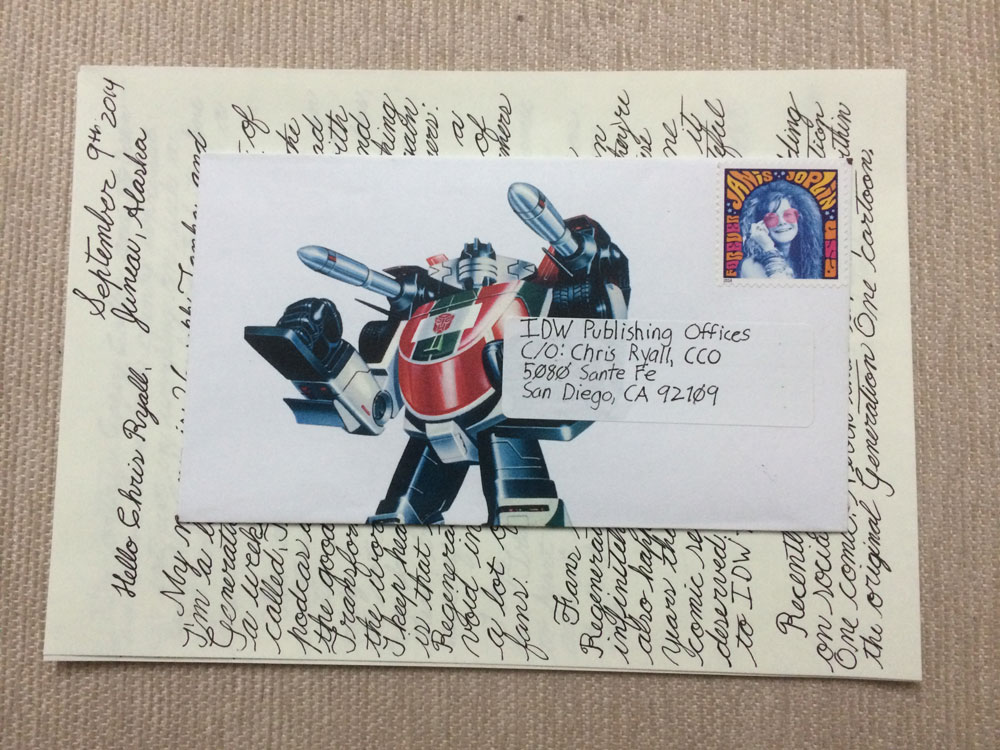
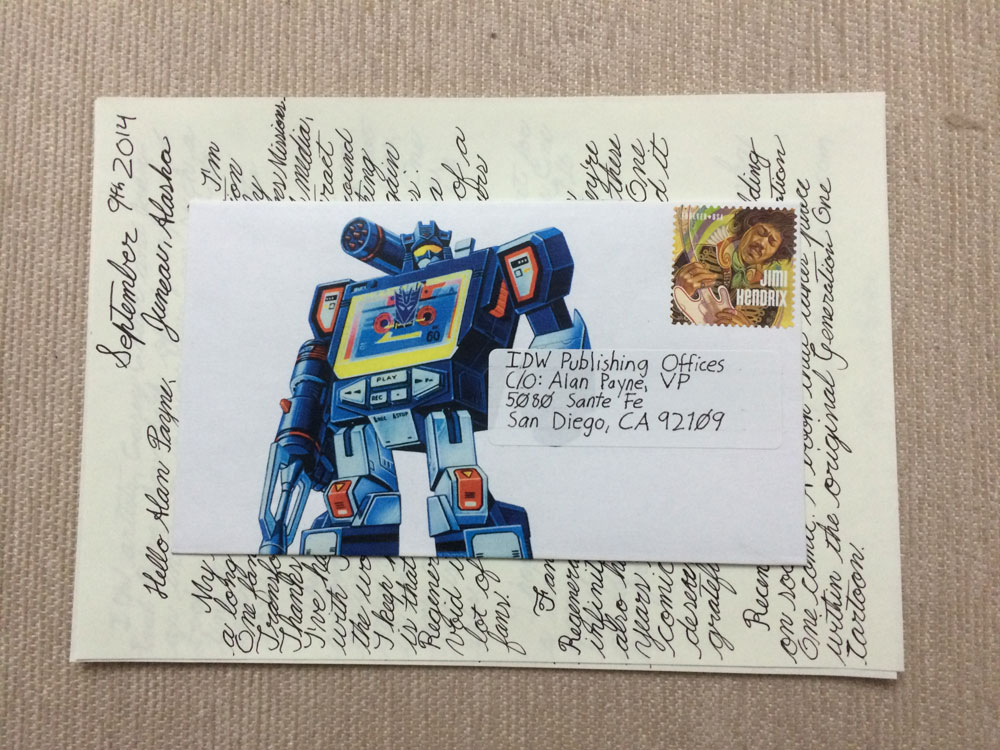
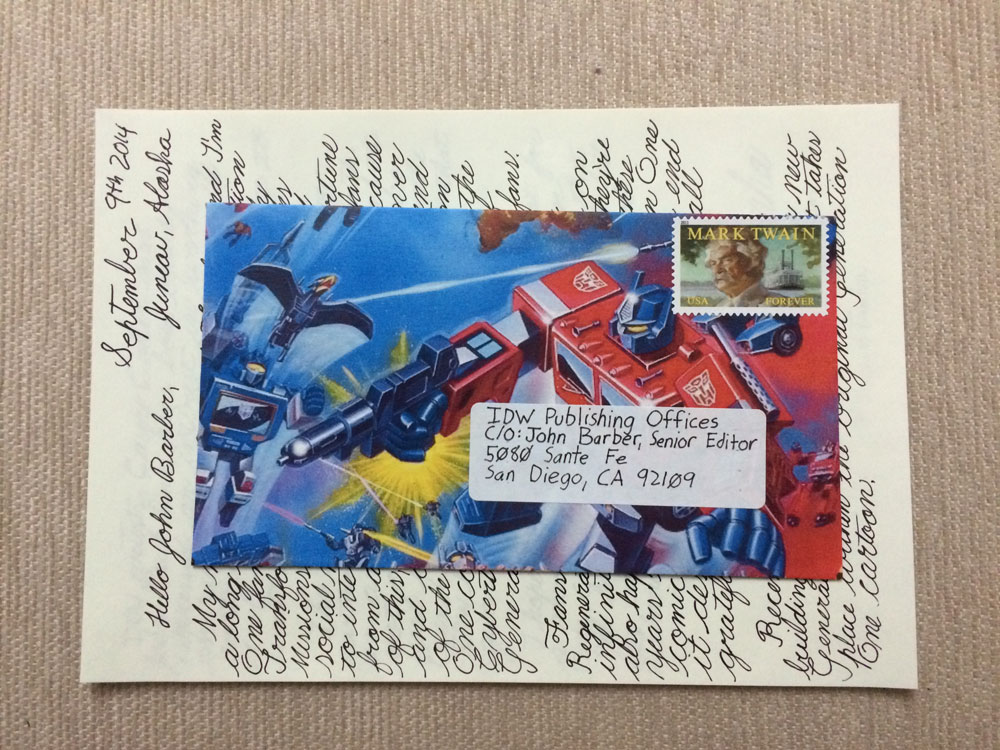
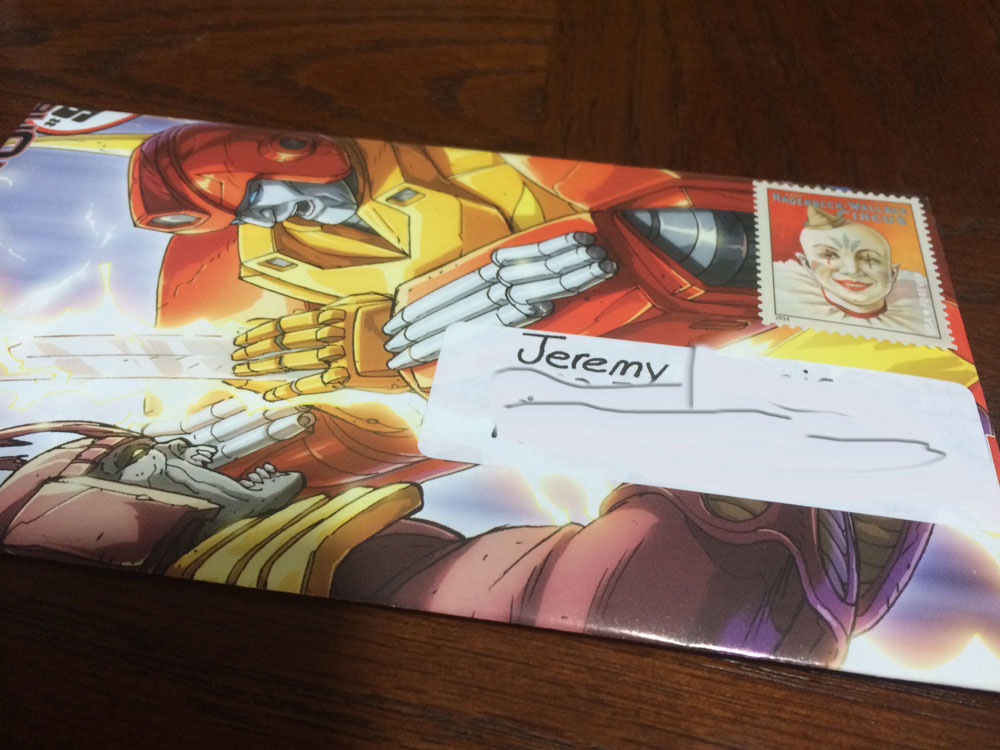
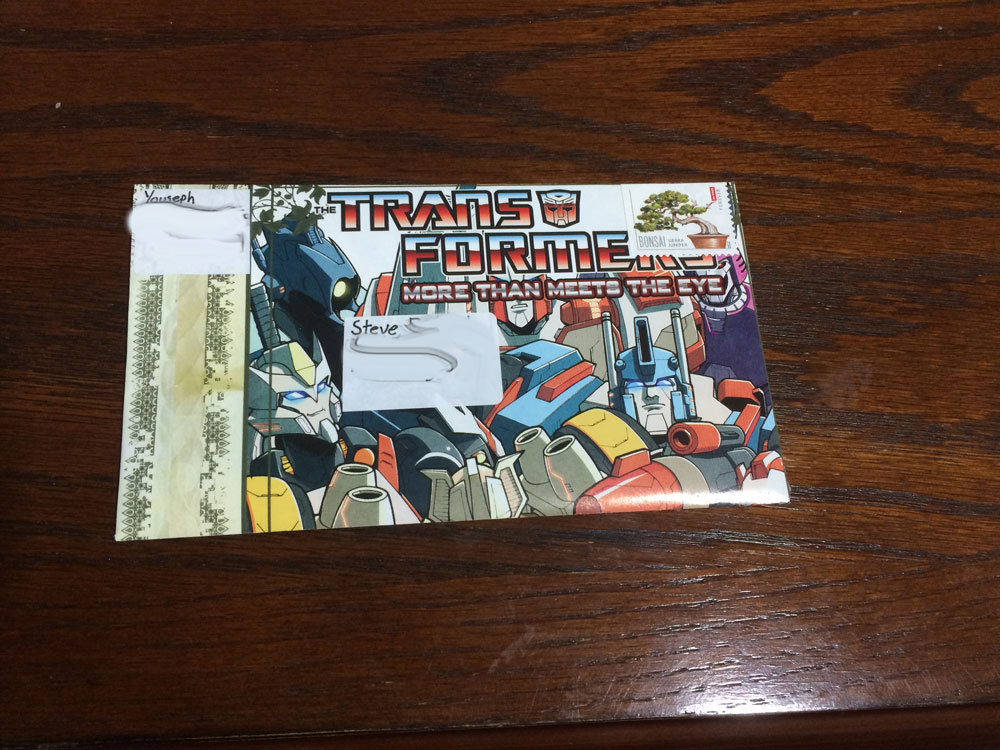
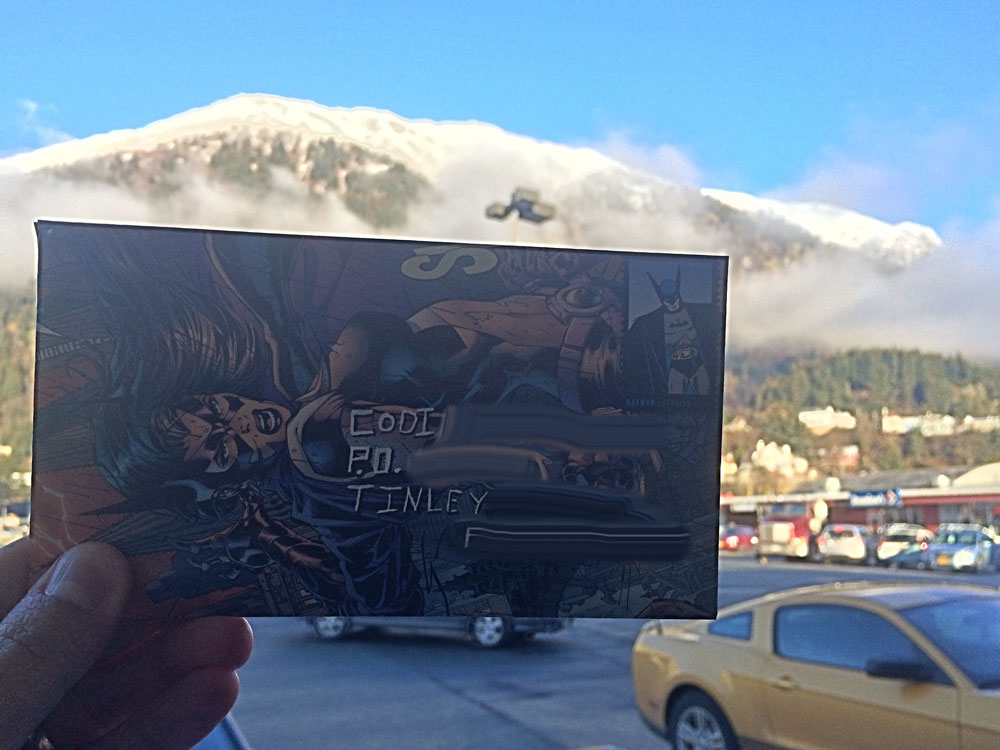
Below are several envelopes I have created.
ADDITIONAL TIPS & TRICKS!
- Use your ruler and a pen to draw out faint guide lines on your labels for writing your address. That along with writing slowly will allow you to write a very legible address on your labels. Once the ink is dry you’ll be able erase your guide lines without smudging the writing.
- The envelope side used in this guide is perfect for correspondence size paper, or A5 sized paper. I prefer to use paper without guide lines. My personal favorite paper to use is Tomoe River Paper.
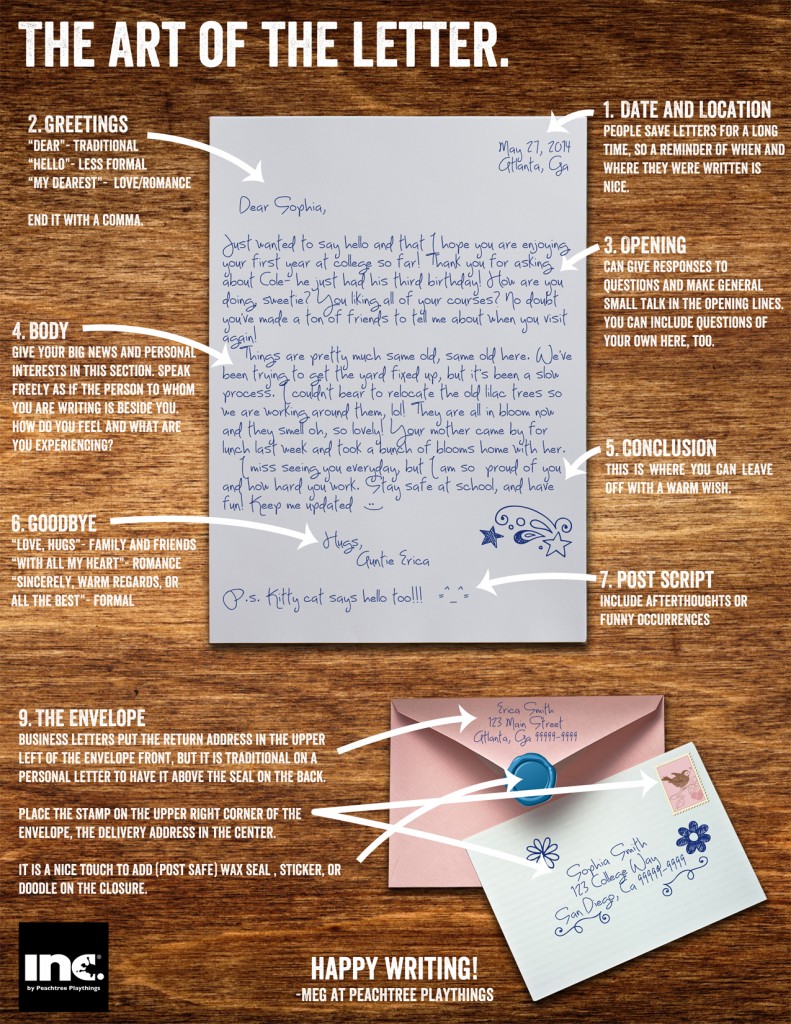
- Here is a great guide on how to write a letter.
- Sometimes you want to create envelopes of different sizes or all kinds of reasons. If that is your goal I want to suggest that you pick up the, Kuretake Handmade Envelope Template – Japanese Version. This template makes nice small envelopes for gifts as well as letter sized envelopes for mailing larger A5 paper. For me this template arrived quickly and packaged well to survive a rough trip through the mail. It’s a pretty great solution if you want to create different sizes of envelopes.
Comments are closed.



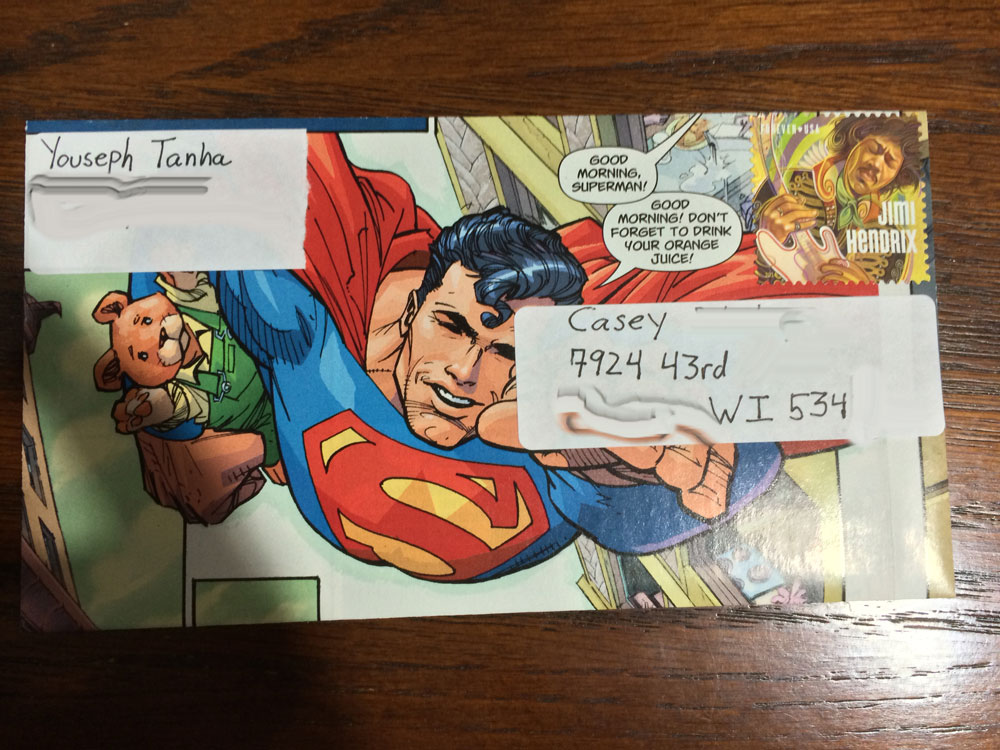
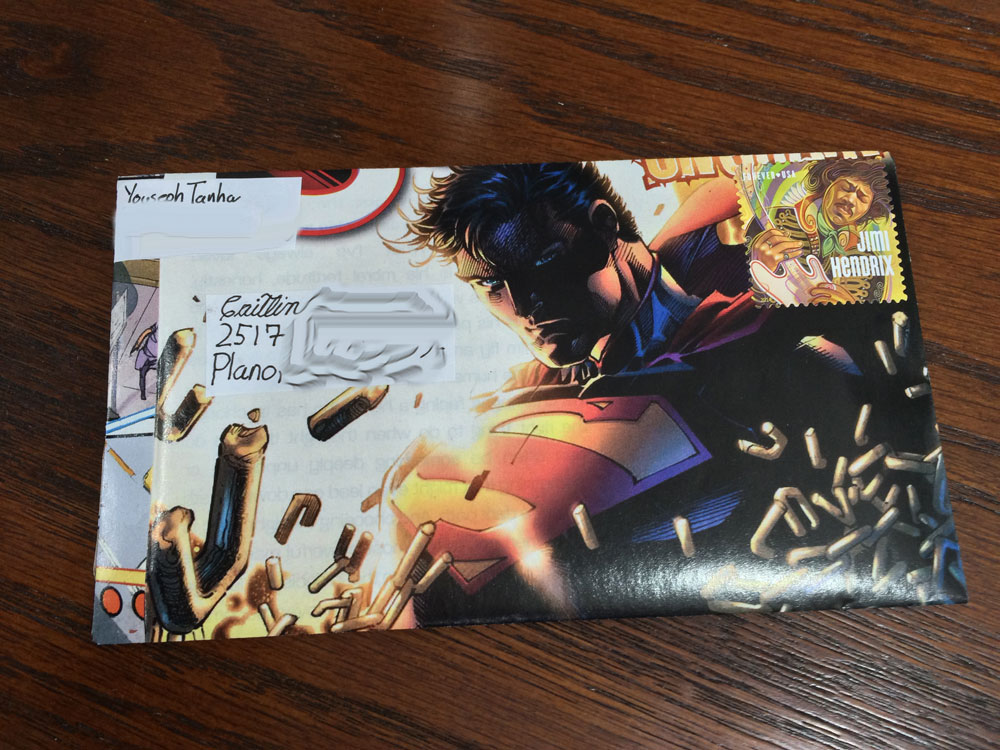
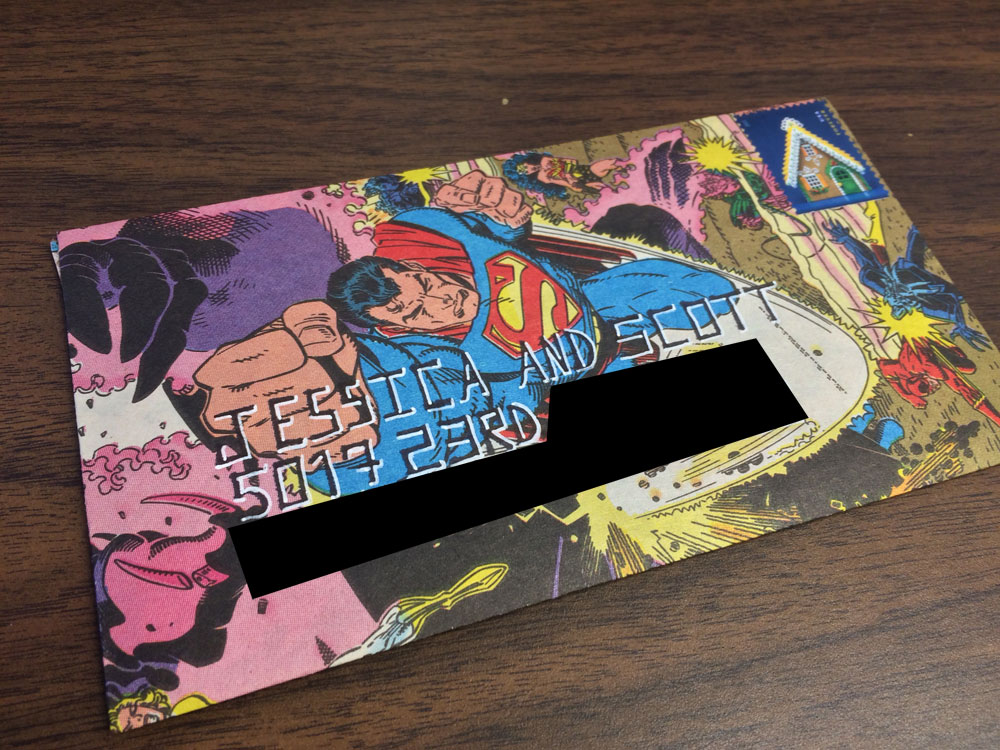
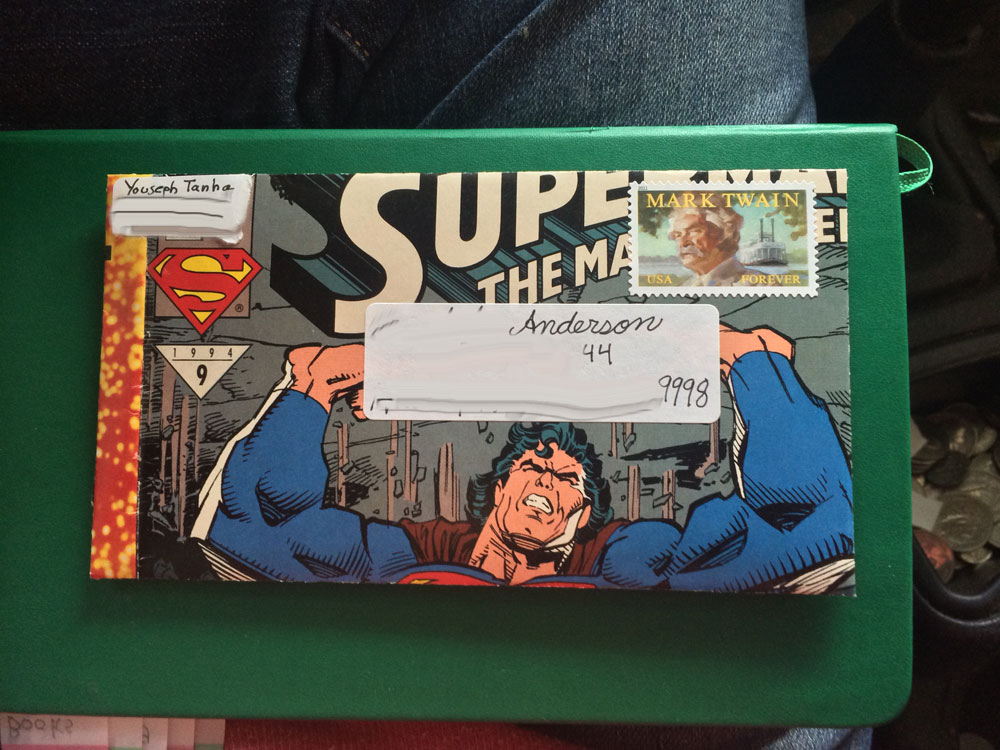
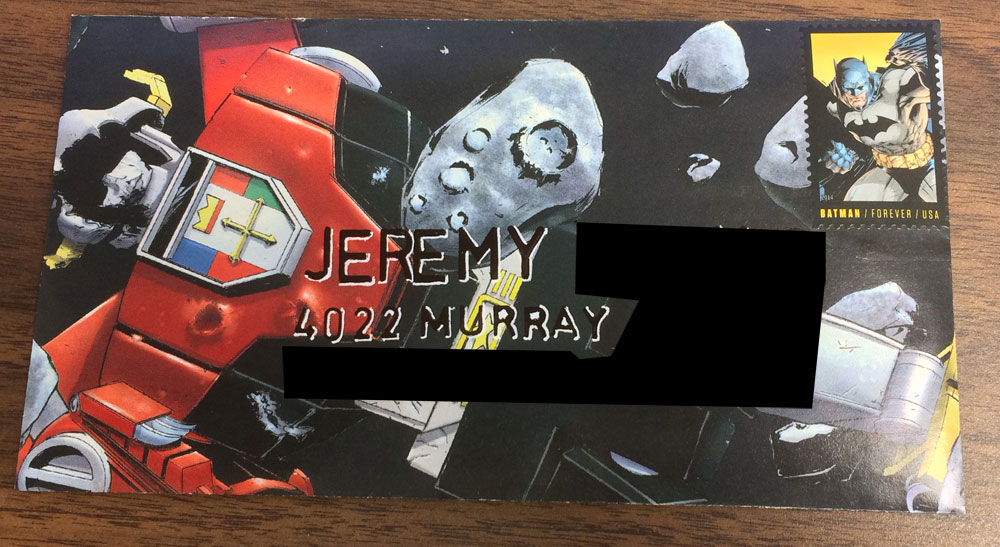
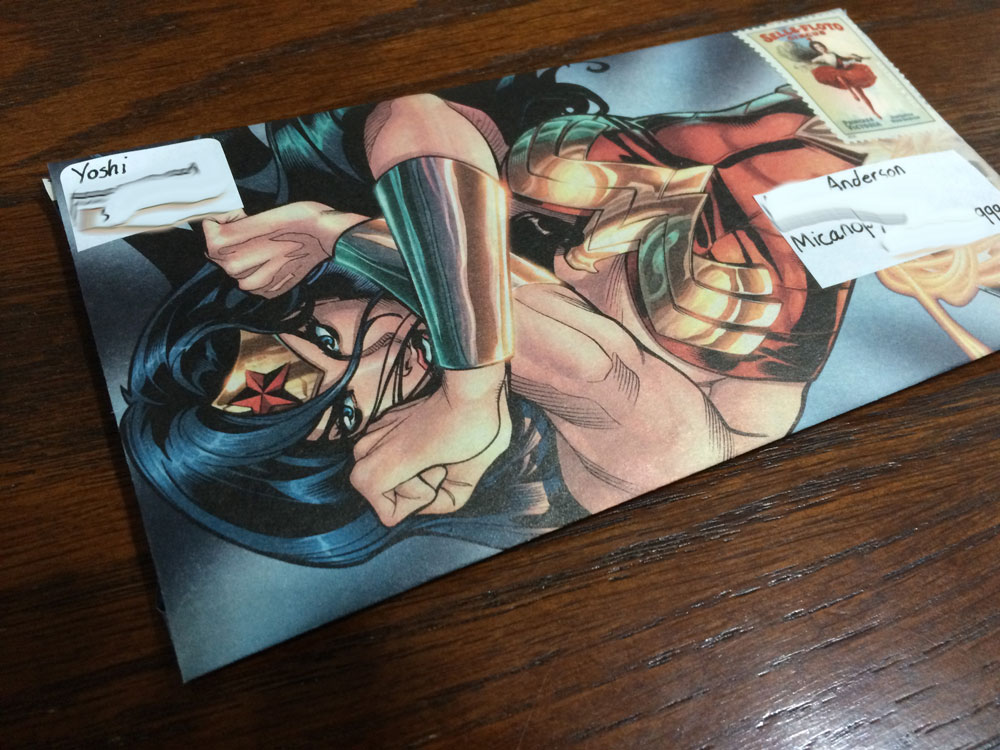
These are super cute but my husband says “No way!”.